Last updated November 18, 2026



Free written scope consultation - allowances, timeline, and change-order rules on paper before a single trade is scheduled
DIY vs Professional Bathroom Remodeling: What’s Safe to Do Yourself
A bathroom can be tiled beautifully and still fail. We’ve seen it in Summerlin: a floor that looked flawless on day one, then two years later the grout starts cracking in a straight line, tiles pop loose, and the whole thing has to come up because the uncoupling membrane beneath it was set wrong. The failure was invisible at the start. That’s the thing about bathrooms. The question isn’t really how hard the work is. It’s where the water goes. This guide draws the line at water, not difficulty, so you can see exactly which jobs are safe to take on and which ones put the whole room at risk.
Quick Answer
You can safely handle painting, swapping a vanity light on an existing circuit, hanging a mirror, changing cabinet hardware, and replacing a toilet seat yourself. Anything that touches water or sits behind a finished surface – waterproofing, drain connections, tile substrate, moving a supply line – is where DIY projects fail invisibly and expensively. In Summerlin, that line matters even more because the dry climate hides slow leaks until the damage is already inside the wall.
Styles & brands we work with
- Kitchen remodeling
- Bathroom remodeling
- Home additions & ADU
- Roofing
- Windows & doors
- Driveway & pavers
- Fence
Table of Contents
- Why Water, Not Difficulty, Draws the Line
- Bathroom Tasks That Are Genuinely Safe to DIY
- Tasks That Look Simple but Have Hidden Failure Modes
- What Clark County Requires a Permit For
- The Cost Comparison That Actually Matters
- How to Work Alongside a Contractor
- Common Mistakes to Avoid
- When to Call a Professional
Why Water, Not Difficulty, Draws the Line
Most DIY advice sorts tasks by how hard they are. That’s the wrong sort for a bathroom. A tiled shower floor is not hard in the way that, say, running a new electrical panel is hard. Plenty of careful homeowners lay tile well. But a shower floor has to shed water in two directions at once: down the drain and away from the substrate. The waterproofing layer under the tile – a bonded membrane like Schluter’s Kerdi, or a liquid-applied coating applied to the right thickness – does the work that nobody sees. Get the thickness wrong, or skip the pre-sloped pan, and the tile still looks perfect. Water still finds the wood.
In Summerlin, we regularly see this in homes built during the big build-out of the 2000s. Original shower pans from that era are now well past their expected life, and the dry desert air keeps the surface looking fine while moisture sits behind it. The homeowner sees no problem until a soft spot shows under a floor tile or a baseboard starts to lift in the adjacent bedroom. By then the repair is no longer a tile job. It’s framing, drywall, and sometimes a new pan.
The same logic runs through plumbing. A vanity drain line connected with the wrong slope will drain fine for months and then clog or back up inside the wall. You can’t see the slope once the cabinet is in. So the question we ask a homeowner who wants to DIY part of a bathroom remodeling in Summerlin isn’t “can you do this?” It’s “if this fails, will you know before the damage is expensive?” For wet work, the answer is usually no.
Bathroom Tasks That Are Genuinely Safe to DIY
Some jobs in a bathroom are genuinely fine to take on. These are the finishes and the surface swaps. Nothing here sits behind a wall or holds water against a substrate.
- Painting. Walls, ceiling, and trim. Use a bathroom-rated paint with a mildew-resistant finish, and give it two coats. Sand lightly between coats. This is the highest-value DIY job in the room because it changes the whole feel for the least risk.
- Swapping a vanity light fixture on an existing circuit. If the box is already there and you’re just changing the fixture, this is a straightforward job. Turn the breaker off, verify with a tester, and match the wire gauge. Don’t add a new circuit or move the box – that’s when it becomes permit work.
- Hanging a mirror. Use the right anchors for the wall type. In Summerlin’s newer builds, that’s usually drywall over studs, so a stud finder earns its keep. Two people for anything large.
- Cabinet hardware. Knobs and pulls on new or existing vanity cabinets. Drill carefully, use a template, and measure twice. Replacement doors and drawer fronts from a manufacturer like Wellborn can be ordered to fit existing boxes, which is a real cost saver.
- Toilet seat replacement. A fifteen-minute job. Buy the seat, match the bolt pattern, done.
- Caulking – done properly. Fresh caulk around a tub or vanity looks like a beginner job. It isn’t if the old caulk is failing. More on that below.
A careful homeowner with a free weekend can handle every item on that list and save real money. None of these touch the water envelope of the room.
Tasks That Look Simple but Have Hidden Failure Modes
These are the jobs that show up on every “easy bathroom DIY” list and cause the most expensive callbacks. Each one has a failure mode you can’t see on the day the work is finished.
Tiling over existing tile
It’s tempting because it skips demolition. The problem is substrate. Old tile hides whatever is underneath – a cracked cement board, a failed waterproofing layer, a floor that was never flat. Bonding new tile to that with thinset traps the old failure beneath the new surface. When the substrate moves, the new tile cracks too, and now you’re removing two layers instead of one.
Re-caulking without full removal of the old caulk
New caulk over old caulk peels within a season, especially in a steamy shower. The right approach takes longer: cut out every bit of the old bead with a utility knife, clean the joint with mineral spirits, let it dry completely, then apply a 100% silicone caulk rated for wet areas. If the joint is deep, back it with a foam rod so the caulk sits at the right thickness.
Connecting a new vanity drain without checking P-trap depth
A new vanity often sits taller than the old one, which changes where the drain outlet lands relative to the trap. If the P-trap drop doesn’t match, you get a slow drain, a gurgle, or a leak inside the cabinet. Check the rough-in height before you buy the vanity, not after.
Setting a shower pan or doing waterproofing
This is the highest-stakes wet work in the room. A shower pan has to slope precisely to the drain – roughly a quarter inch per foot – and the waterproofing membrane has to run up the walls past the curb. Get the thickness or the overlap wrong, and water gets behind the tile with no visible sign for a year or more. This is the one area where we recommend a professional every time, even for a handy homeowner.
What Clark County Requires a Permit For
Clark County requires a building permit for most substantial bathroom work, and the homeowner exemption is narrower than people assume. A homeowner can pull a permit to work on their own primary residence in many cases, but the work still gets inspected by the county. The exemption isn’t a pass around inspections. It just means you’re the one on the hook for the work.
Here’s what typically triggers a permit in a Summerlin bathroom:
- Moving or adding plumbing supply or drain lines
- Moving or adding electrical circuits, or relocating outlets and switches
- Removing or altering a load-bearing wall
- Installing or replacing a shower pan or tub with a change in footprint
- Adding a new window or altering an existing one
Cosmetic work – paint, tile over existing substrate in some cases, swapping a light fixture, replacing a toilet – usually does not need a permit. The catch is that “tile over existing substrate” can shift into permit territory if the existing waterproofing is being replaced. Inspections have to pass whether a licensed firm or the homeowner does the work. If a rough-in inspection fails because a drain line won’t hold a water test, the county doesn’t care who held the wrench. And if you sell the home later, unpermitted work can surface in a title search and stall the sale. We pull permits on every General Contractor in Summerlin project for exactly this reason.
When in doubt, call the county before you start. A ten-minute phone call is cheaper than a re-inspection.
The Cost Comparison That Actually Matters
The usual DIY math is wrong. It compares your labor to a contractor’s labor, which makes DIY look like a windfall. The number that matters is your labor saved versus the cost of remediation if the wet work fails behind a finished wall.
Here’s a rough comparison for a Summerlin bathroom in the 40 to 80 square foot range:
- Painting, hardware, mirror, light swap: $300 to $700 in materials if you do it yourself. A contractor handles the same list in a day for roughly $900 to $1,400 in labor. DIY savings of $600 to $1,200. Low risk.
- Tile floor, correct substrate: $900 to $1,800 in materials plus a weekend or two of your time. A professional install runs $2,500 to $5,000 installed. DIY savings look big – until the membrane fails.
- Fail behind the wall: A torn-out shower pan with water damage to framing and drywall runs $4,000 to $9,000 to remediate, not counting the cost of the original tile you now throw away. That’s the real number to weigh against DIY savings.
The math is stark. DIY the finishes. Hire the wet work. A free written price from a contractor on the waterproofing and plumbing portion of the job is often less than the remediation cost of getting it wrong once. That’s not a scare tactic. It’s a comparison of two line items, and one of them has a floor.
How to Work Alongside a Contractor
You don’t have to hand the contractor the whole room. There’s a middle path, and we’re glad to structure a project that way – owner-prepared and owner-finished portions reduce cost without creating a liability gap. The trick is agreeing in writing on who is responsible for what, and when.
- Split at the water envelope. Let the contractor handle all plumbing rough-in, waterproofing, shower pan, and tile substrate. You take the finishes: paint, hardware, mirror, and light fixtures after the wet work is signed off.
- Owner-supplied materials with written approval. Some homeowners buy their own vanity or fixtures. That can work, but the price of the labor has to reflect it, and warranty coverage on owner-supplied items is narrower. Get the agreement in writing so nobody is surprised later.
- Owner demolition, done safely. Tearing out old tile, cabinets, or a tub can save real money if you do it carefully – shutting off the water, protecting the rest of the house, hauling debris. Agree on what’s expected before demo day.
- Schedule around the family. This is where a real contractor earns the fee. With kids and pets, quiet hours and clean-up matter. Ask for the written schedule up front so you can plan around the disruption.
We structure a lot of Summerlin bathrooms this way: the crew takes the wet work and the tile, the homeowner does the painting and hardware on their own schedule. Both parties know exactly what’s covered by the 365-Day Done Right Promise – and what isn’t, because the homeowner did it. A written price for the contractor’s portion is agreed before any work starts, so nobody is guessing.
Common Mistakes to Avoid
- Skipping the water test on new plumbing. Fill the drain line and hold it before you close the wall. In a Summerlin bathroom, that test catches the leak that would otherwise show up as a stain in the ceiling below six months later.
- Waterproofing right up to the tile line instead of past it. The membrane needs to run up the wall and over the curb. Stop it short, and water wicks behind it at the edges.
- Using the wrong caulk. Standard painters’ caulk fails in a shower within months. Use 100% silicone in wet joints, and don’t caulk over a wet surface.
- Assuming the dry climate helps. Summerlin’s low humidity does dry surfaces fast, but it also dries the top layer of a leak and leaves the moisture deeper in the substrate. The exterior stays dry while the inside rots.
- Moving a fixture without pulling a permit. Small relocations feel minor. They still need a permit, and an unpermitted change can stall a future sale.
- Buying the vanity before checking the rough-in. The most common ordering mistake we see. Measure the drain and supply locations first.
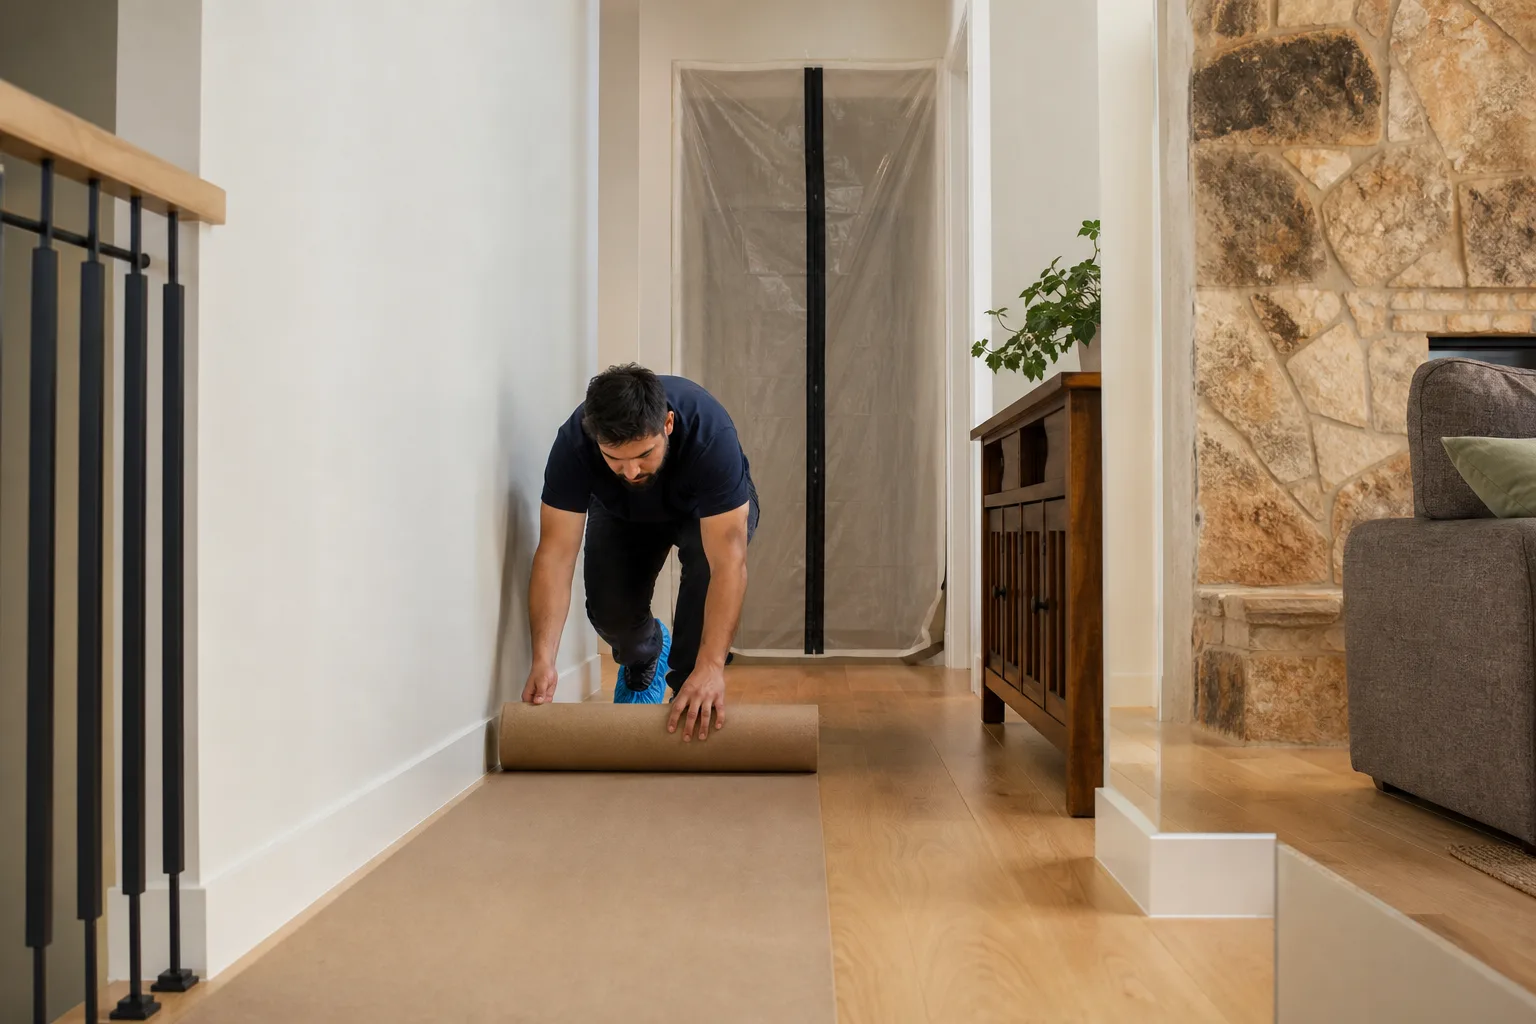
- Not keeping the work area protected. Dust from tile and drywall travels. Drop cloths and a taped-off doorway protect the rest of the house from the room being remodeled.
See the difference
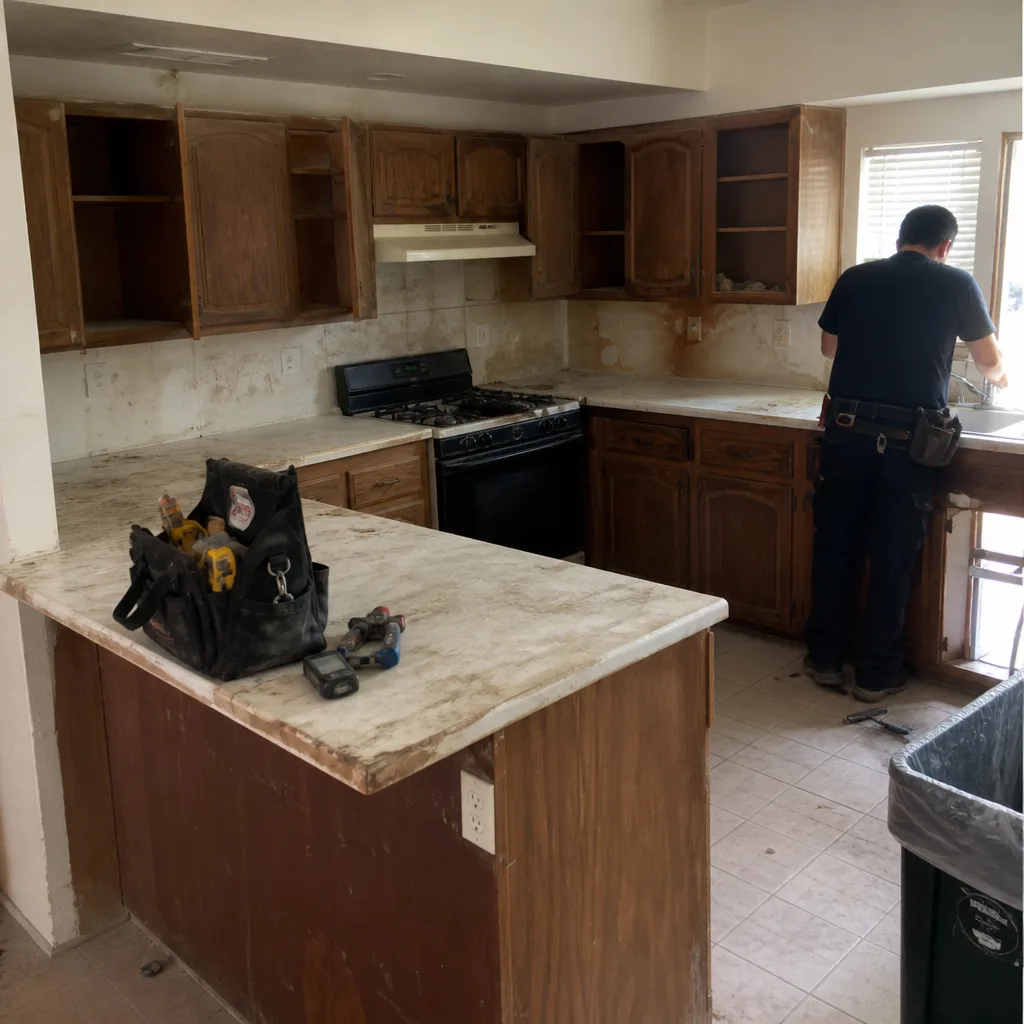 Before
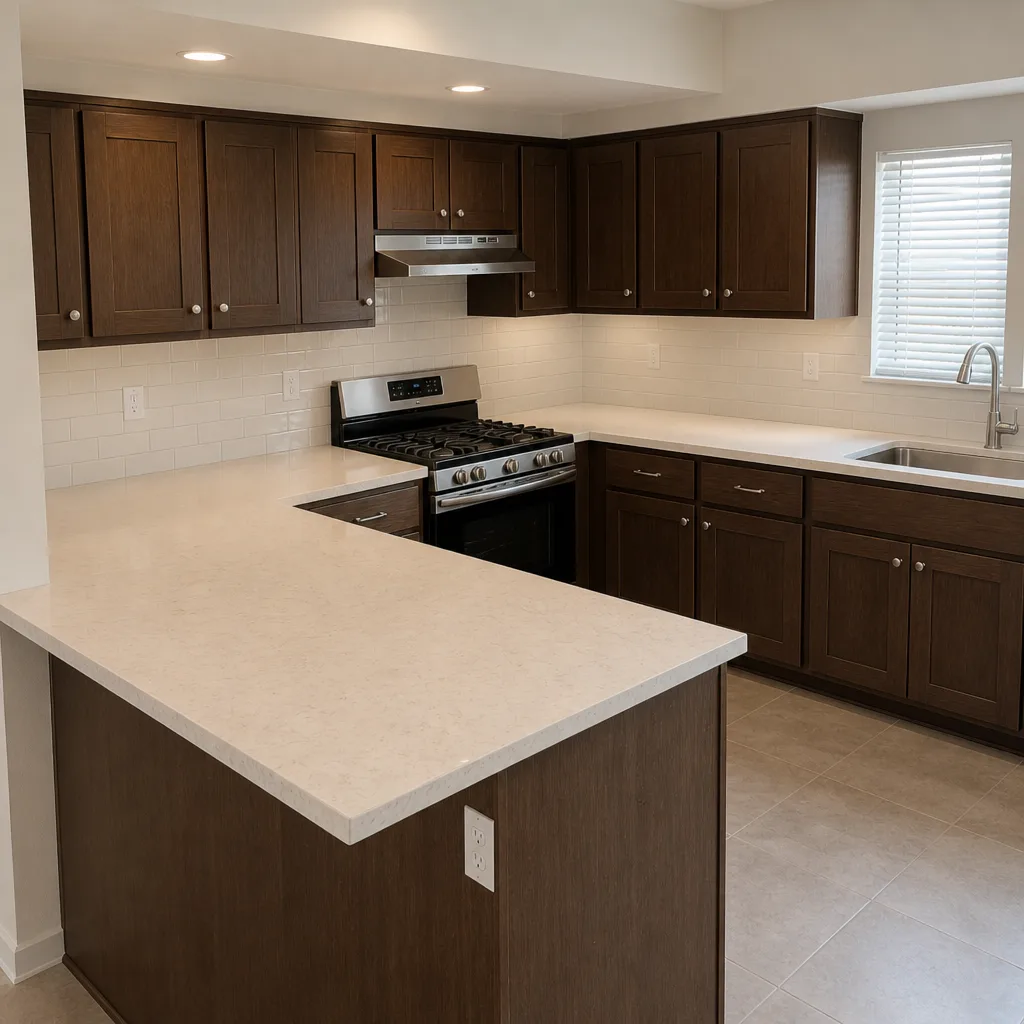 After
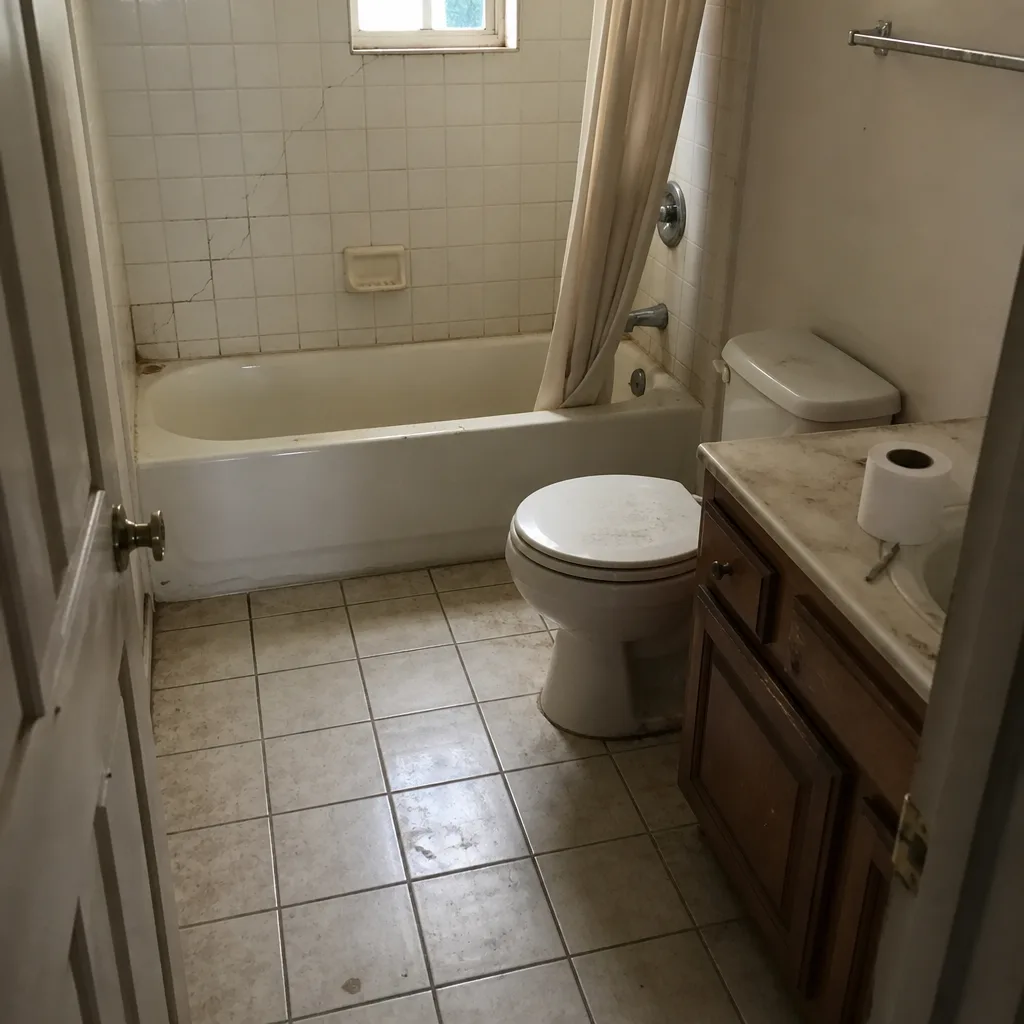 Before
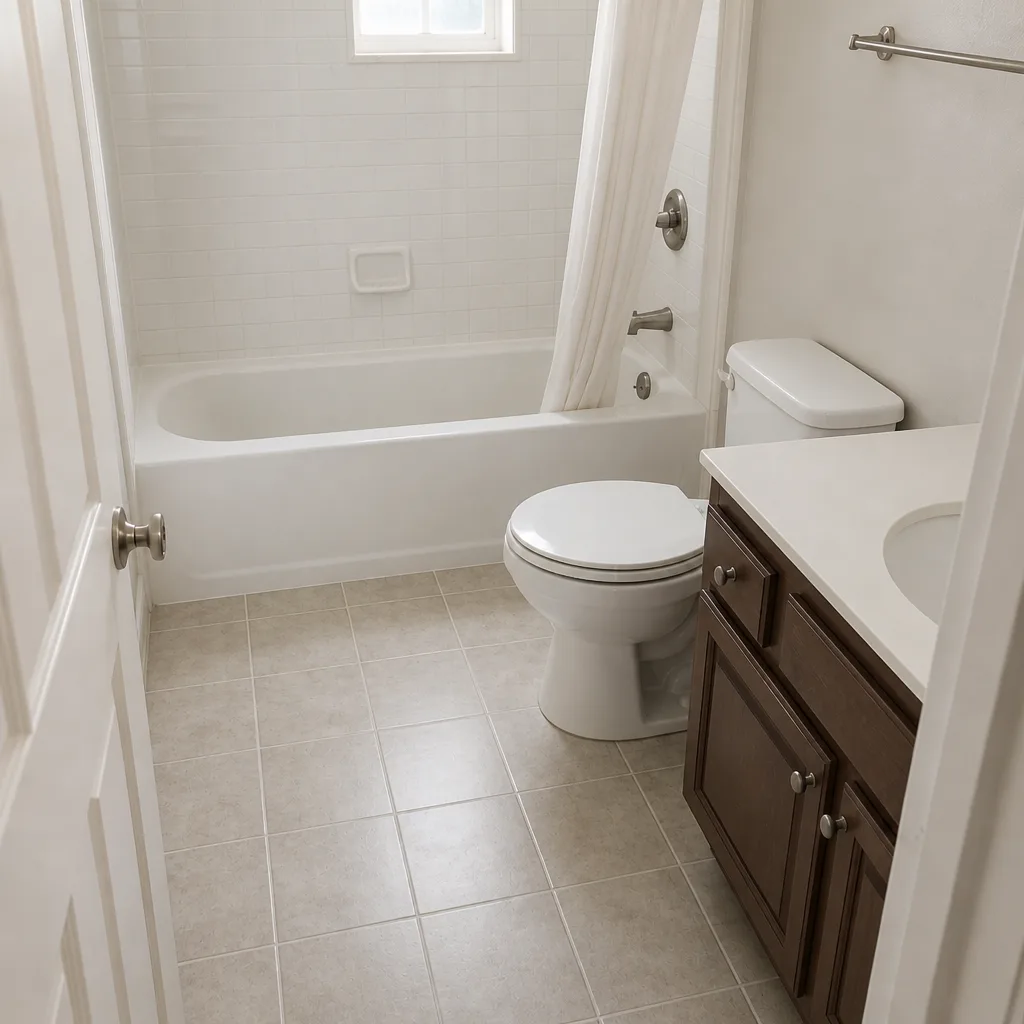 After
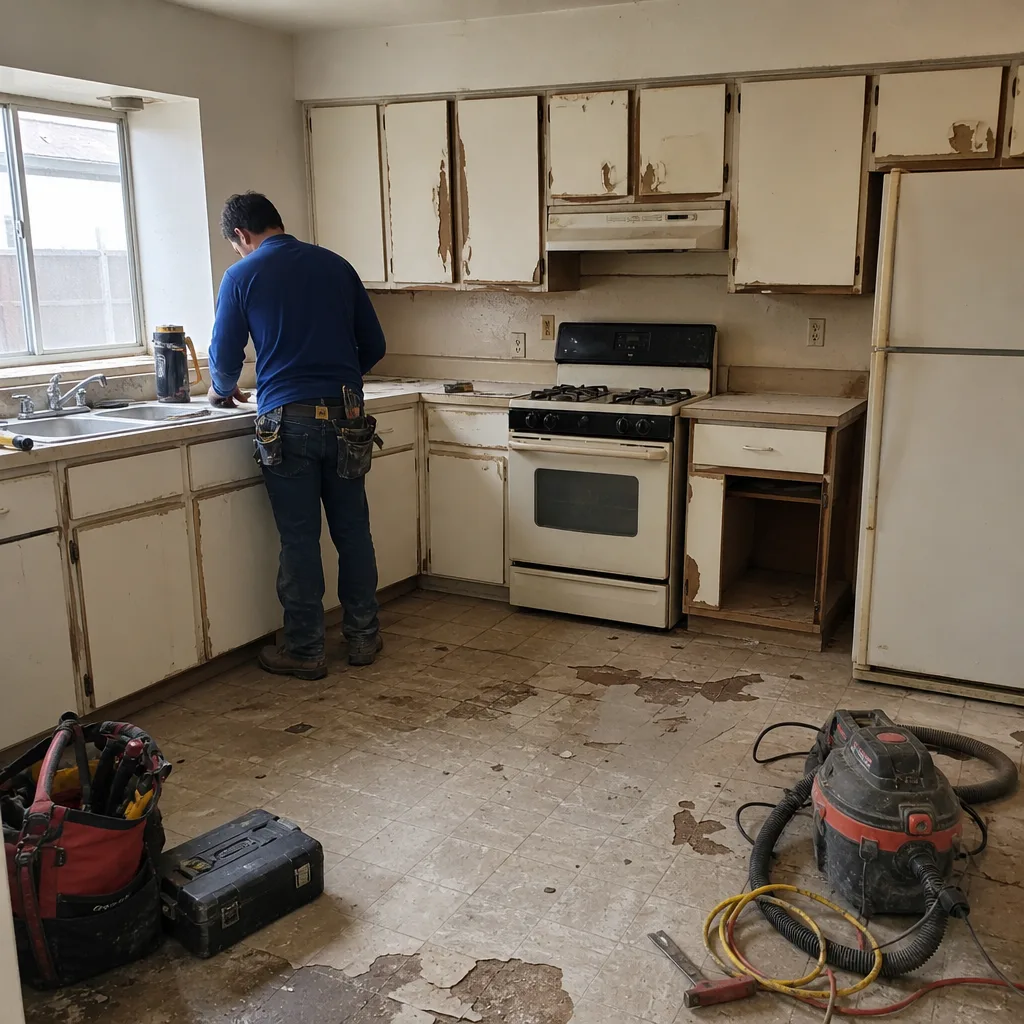 Before
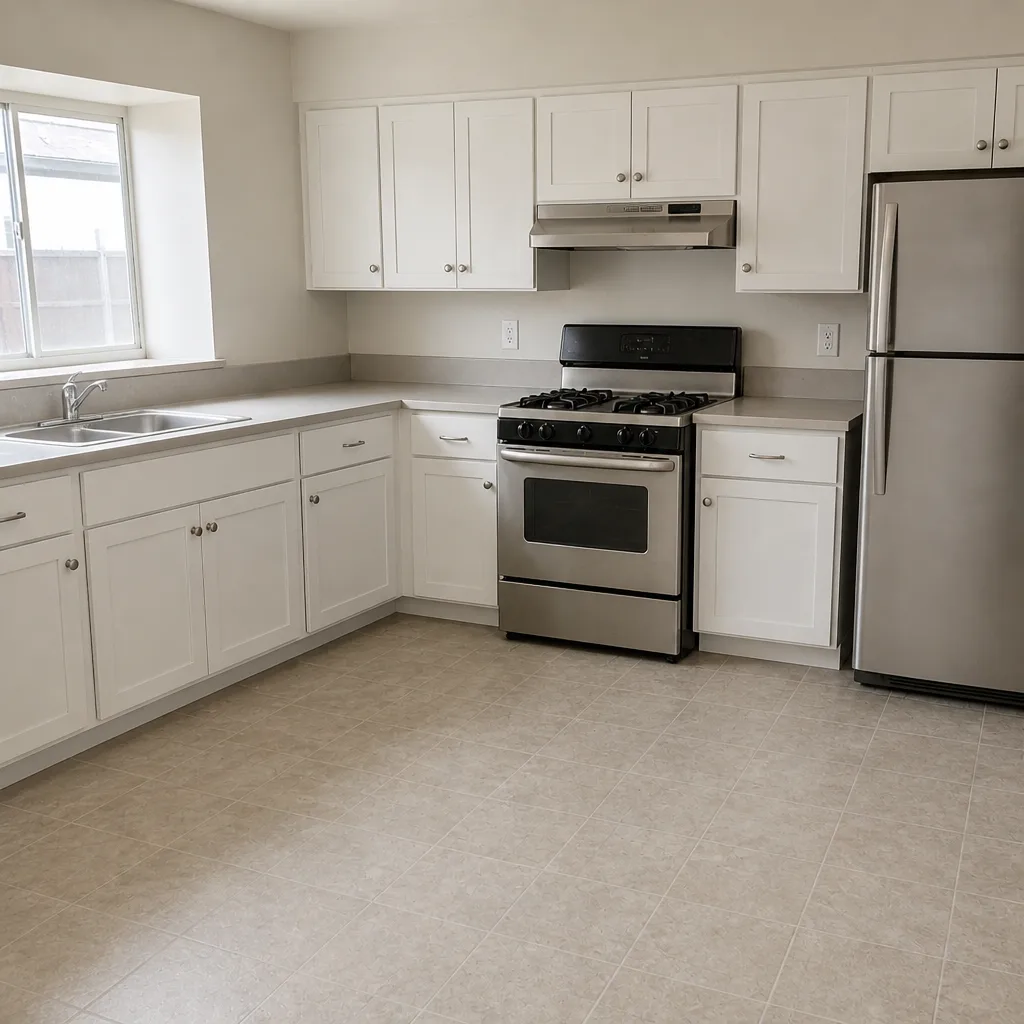 After
When to Call a Professional
Call a professional when the work touches water or the wall it hides behind – waterproofing, shower pans, drain and supply lines, moving a fixture, replacing a shower with a different footprint. Call us too if the bathroom is older and you suspect a failing pan or a slow leak you can’t trace, or if you want the permit and inspection process off your plate. Bring us in when a wall is coming down and you don’t know if it’s load-bearing, or when a project starts moving past finishes into the structure of the room. Elmstead Remodeling Summerlin offers free estimates in Summerlin – call (844) 797-4877. Every project comes with the Cedarwell Care Promise: drop cloths and shoe covers inside the house, a written price before any work starts, a photo of the clean-up before the crew leaves, quiet tools during family rest hours where possible, and pet-safe product choices where there’s a choice.
Frequently Asked Questions
Only for cosmetic work. Paint, hardware, and fixture swaps usually don’t need a permit. Anything that moves plumbing, electrical, or a load-bearing wall does. The homeowner exemption lets you pull the permit yourself in many cases, but the inspections still have to pass, and unpermitted work can surface when you sell. Call (844) 797-4877 if you want to know whether your specific plan needs a permit before you start.
Painting. It’s the highest-value, lowest-risk job in the room, and mistakes are easy to paint over. Use a bathroom-rated, mildew-resistant finish and give it two coats. If you want to stack a second easy win, swap the vanity light fixture and cabinet hardware on the same weekend.
A cosmetic refresh with paint, hardware, and a fixture swap runs roughly $2,000 to $5,000. A full remodel with new tile, new shower pan, and new vanity typically lands between $18,000 and $45,000, depending on size and materials. The wide range reflects real variables – tile selection, whether the layout moves, and whether the plumbing needs updating. Call (844) 797-4877 for an exact written price – estimates are free.
Yes, whenever the work requires a permit. The county inspects the rough-in plumbing, the electrical, and the final work regardless of who held the wrench. A failed inspection costs you time and a second fee. That’s one of the reasons many homeowners hand the wet work to a contractor and keep the finishes for themselves.
On finishes, yes. Painting and hardware can save several hundred to over a thousand dollars. On waterproofing and plumbing, the math rarely holds once you factor in the cost of remediation – often $4,000 to $9,000 if a shower pan fails. The line is water, not difficulty.
Sometimes, with written agreement. Owner-supplied materials can lower cost, but warranty coverage on those items is narrower and the labor price has to reflect the swap. Agree on it before work starts. Named-brand cabinets from KraftMaid and Wellborn and fixtures from Kohler, Moen, and Grohe carry manufacturer warranties that travel with the finished project – that’s the advantage of buying through the contractor when the price works out.
The Bottom Line
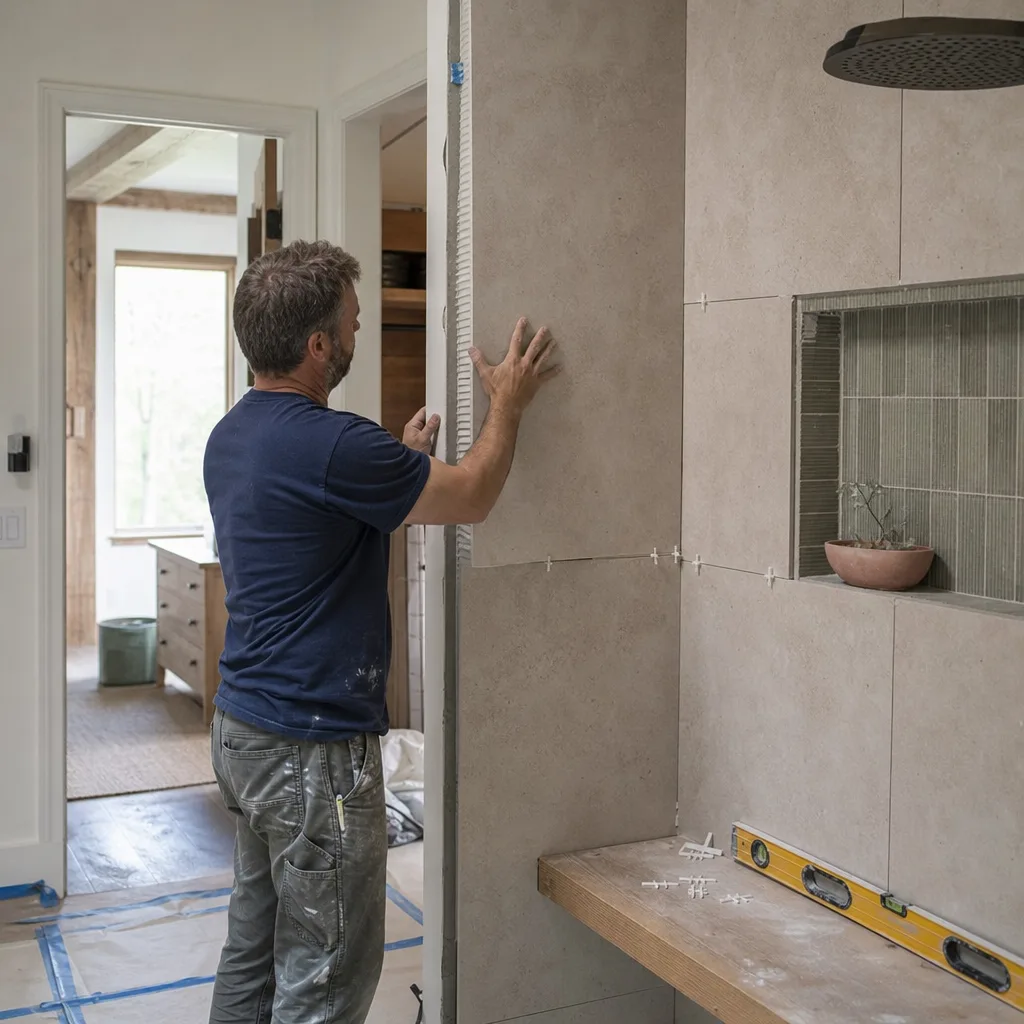
Bathrooms reward the careful homeowner who DIYs the right things. Paint the walls. Swap the hardware. Hang the mirror. Change the light fixture on the existing circuit. Then stop at the water line, because the failure behind the wall is invisible until it’s expensive. Summerlin’s dry air hides leaks better than most climates, which makes it more important – not less – to get the waterproofing, the pan, and the plumbing right the first time. Whether you do the whole thing yourself or hand the wet work to a contractor, understand the permit rules, weigh the remediation cost against the labor savings, and structure the project so nobody is guessing about who’s responsible for what.
If you’d like a written price before any work starts, call Elmstead Remodeling Summerlin at (844) 797-4877 for a free estimate on your Summerlin bathroom. We’ll walk the room, tell you plainly which parts you can safely take on yourself, and quote the rest. Our technicians have up to 21 years of experience, and every project comes with the 365-Day Done Right Promise – if it’s not done right, we make it right. Learn more about our Elmstead Remodeling Summerlin home services, or see how a full Kitchen Remodeling in Summerlin pairs with a bathroom project if you’re planning a whole-home update.
Written by the team at Elmstead Remodeling Summerlin.