Last updated November 18, 2026


Free written scope consultation - allowances, timeline, and change-order rules on paper before a single trade is scheduled
Kitchen Remodeling Troubleshooting: Common Problems and How to Fix Them
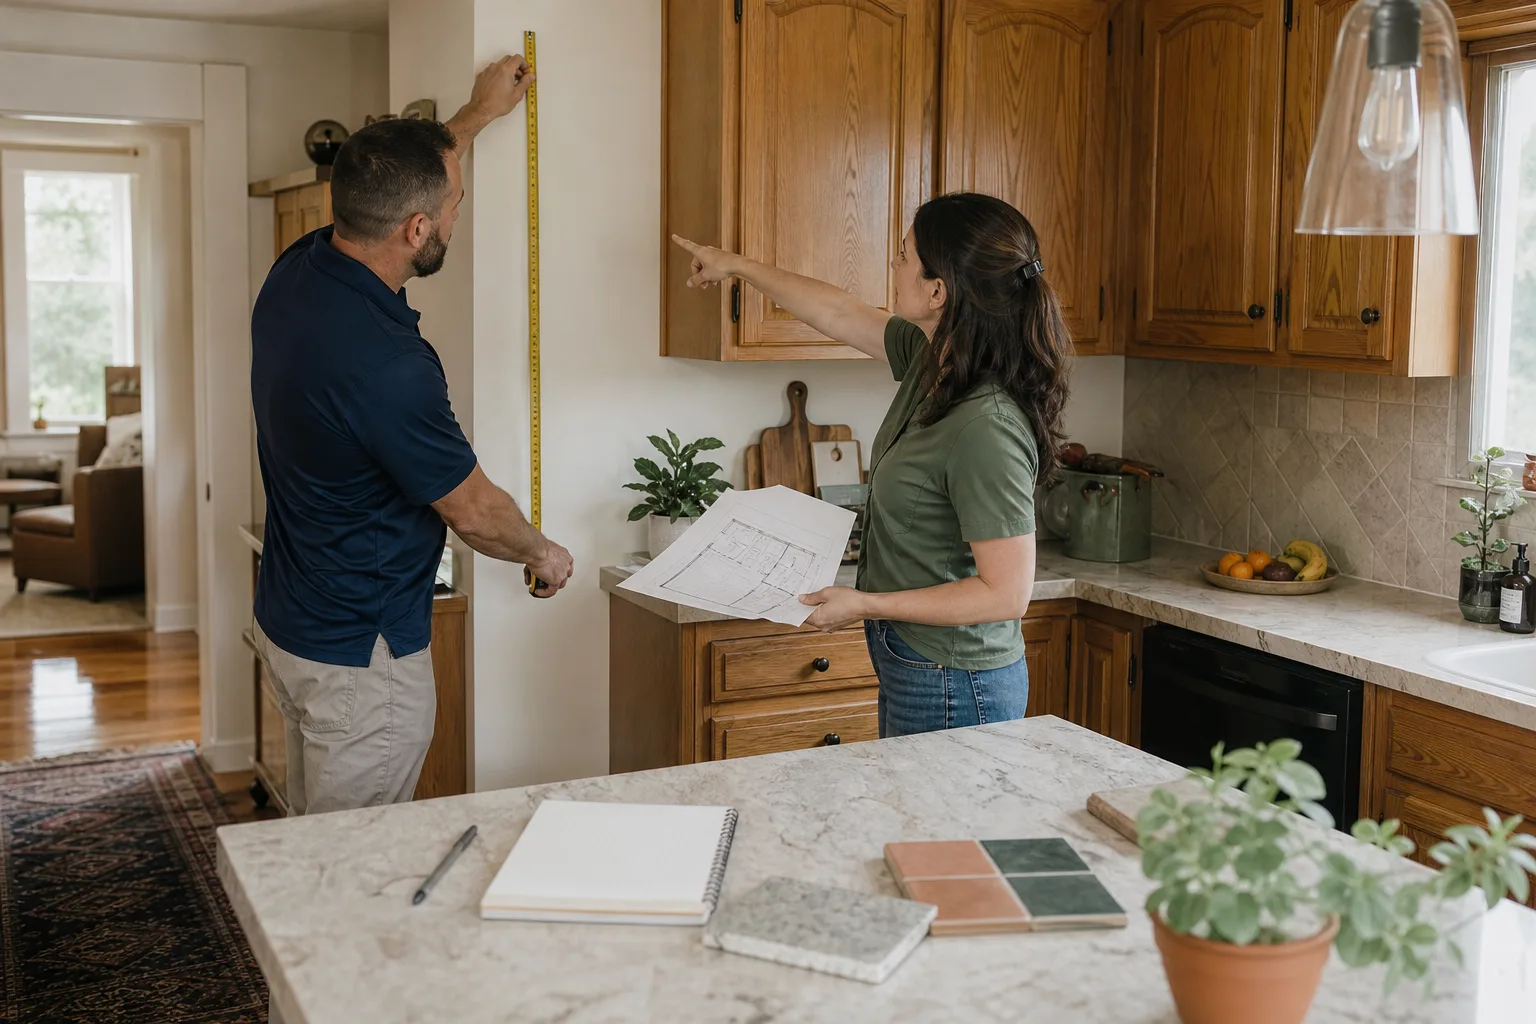
The gap between the cabinet run and the ceiling that appears on installation day was visible in the measurements taken on day one. The question is whether anyone was watching for it. That single truth explains most of the trouble in a kitchen remodel: the problems that stop a project cold almost never appear out of nowhere. They arrive at predictable moments, in predictable order, and each one has a known fix. What separates a smooth kitchen from a three-month one is whether the crew expected them and built the remedy into the plan.
In Summerlin, where most homes sit on slab-on-grade foundations and share a narrow set of builder-era layouts, those moments are even more repeatable. We’re going to name the actual problems, tell you which phase each one shows up in, and describe the actual fix. By the end you’ll be able to ask your contractor better questions, catch a small issue before it turns into a change order, and understand why the good crews spend so much time measuring things that look finished.
Quick Answer
Most kitchen remodeling problems fall into a handful of predictable categories: rough-in conflicts discovered before cabinets are ordered (drain locations, gas line placement, electrical panel capacity), out-of-square walls revealed at countertop templating, appliance dimensions that don’t match the rough opening, and tile layouts that only fail after cabinets are hung. The fix is almost always early detection plus a written change-order process, not heroics on installation day. In Summerlin slab-on-grade homes, the rough-in phase is where the most expensive surprises live, so that’s where careful planning pays the biggest return.
Styles & brands we work with
- Kitchen remodeling
- Bathroom remodeling
- Home additions & ADU
- Roofing
- Windows & doors
- Driveway & pavers
- Fence
Table of Contents
- The Five Rough-In Problems That Cost the Most
- What to Do When Templating Reveals a Wall That Isn’t Square
- Appliance Dimension Conflicts and How to Catch Them
- Tile and Backsplash Layout Problems After Cabinets Go Up
- The Written Change-Order Process That Protects Your Budget
- Why Phase Sequencing Prevents Most Delays
- Common Mistakes to Avoid
- Frequently Asked Questions
The Five Rough-In Problems That Cost the Most
Rough-in is the phase before drywall goes up, when plumbing, gas, and electrical lines get placed in the walls and floor. In Summerlin’s slab-on-grade homes, this is where the highest-dollar surprises live, because moving a drain in a poured concrete floor is a demolition job, not a tweak. Here are the five we watch for on every kitchen, and how each gets handled before cabinets are ordered.
- Sink drain location conflicts. A new sink, especially an apron-front or deep single-bowl model, often needs the drain moved a few inches. That’s straightforward in a frame floor and expensive in a slab. We locate the existing drain and confirm the new sink’s outlet before the first cabinet line is drawn.
- Gas line placement. A slide-in range wants gas near the back wall; a cooktop with a wall oven below wants it low and centered. Getting this wrong means either a visible flexible line or a re-pipe. We confirm the appliance type before the gas rough-in is set.
- Electrical panel capacity. Adding a 240-volt induction range, a double wall oven, or a dishwasher circuit can push an older panel past its limit. A panel upgrade is a real cost and belongs in the written price before work starts, not on the final invoice.
- Dishwasher and disposal drain ties. The dishwasher drain needs a high loop or an air gap, and the disposal shares the sink drain. Poor routing shows up later as slow draining or odor, so we map both before the wall closes.
- Vent hood ducting. A recirculating hood is fine for some kitchens; a ducted hood needs a path to the exterior. In Summerlin homes where the range sits on an interior wall, that path is the constraint, and it’s decided before the layout is locked.
Each of these is a measurement and a decision, not a crisis. If your contractor can walk the rough-in plan with you and name what’s behind each wall, you’re in good shape. Our technicians have up to 21 years of experience reading these layouts, and we still measure twice. If you want a framing-level look at what goes into a Summerlin kitchen before demolition, see our guide to Kitchen Remodeling in Summerlin.
What to Do When Templating Reveals a Wall That Isn’t Square
Countertop templating is the moment the finished kitchen meets reality. A laser or physical template is taken of the actual cabinet footprint, and sometimes, even when the cabinet run looked straight, the template shows a wall that bows out two inches over ten feet. This is common in Summerlin homes built in the 1990s and early 2000s, where drywall corners and framing settle over decades.
The fix depends on where the out-of-square condition lives. We sort them into two kinds:
- A carpenter’s fix. If the cabinet run is straight and only the wall behind it bows, a filler strip, a scribe molding, or a slight relay of the end panel can hide the gap. This is a finish-level correction and typically adds little cost or time.
- A full reset. If the cabinet boxes themselves are out of plane (fronts not flush, a run that steps forward at a corner), no amount of trim will make the countertop sit right. The run comes out, the shims get re-stacked, and the cabinets are re-set before templating is attempted again. This costs real time and is exactly why we set cabinets with a laser plane, not by eye.
Cambria and Silestone slabs are cut to the template, so the template has to be right. Re-cutting a countertop is one of the few genuinely unrecoverable costs in a kitchen remodel. Our crew takes the template only after the cabinet run passes a squareness check, and the check is written into the schedule. If you want the broad picture of how a full project flows, our General Contractor in Summerlin page walks through it.
Appliance Dimension Conflicts and How to Catch Them
Here’s a step that saves real money and almost nobody does it: measure the appliance, not the spec sheet. A refrigerator that lists as 36 inches wide often needs 37 to 38 inches of finished opening for door swing, ventilation, and hinge clearance. A range listed as 30 inches may need 30 and a quarter to slide in without binding. The rough opening gets framed from the design, and if the design used spec-sheet numbers, the appliance doesn’t fit when it arrives.
The remedy is a two-part check that we build into the schedule:
- Verify at design. Before cabinets are ordered, we download the manufacturer’s install guide for the exact model, not the marketing page, and pull the rough opening, clearance, and venting requirements. Those numbers drive the cabinet order.
- Verify again on delivery. When the appliance is delivered, we measure the actual unit against the framed opening before it’s unpacked into the room. If it’s out by an inch, it’s a conversation with the cabinet supplier now, not a trim-out problem at the end.
This matters when you’re upgrading to wider or taller appliances than the kitchen was built for, which is common in Summerlin’s older builds where a standard-depth refrigerator was the original spec. A counter-depth upgrade changes the reveal at the cabinet run, and a double wall oven changes the electrical and the cabinet height. We coordinate with the appliance supplier and the cabinet maker (KraftMaid and Wellborn both publish detailed install specs) so the rough opening matches the unit, not the brochure.
Tile and Backsplash Layout Problems After Cabinets Go Up
Backsplash layout only reveals itself once the cabinets are hung and the counter is in place. That’s the first time you can actually see where the tile courses line up against the windows, the range hood, the outlets, and the corners. A layout that looked fine on paper can leave a sliver of tile at the ceiling, a course that dies into an outlet plate, or a pattern that meets awkwardly at a bullnose edge.
We dry-lay the backsplash before a single tile is set. Dry-laying means setting the tile out on the counter and the wall without thinset, marking the key lines, and looking at the whole room from standing height and from the doorway. The step takes an afternoon and prevents the most visible, hardest-to-undo mistake in the kitchen.
What to look at during a dry-lay:
- Where the top course meets the ceiling or the window trim. A full course at the top beats a two-inch sliver every time.
- How the pattern (herringbone, offset, or stacked) lands at the range hood and any window.
- Whether the outlet plates land inside a grout line or cut a tile in half.
- Where the tile meets a painted wall at an open end, and whether a Schluter edge profile or a bullnose closes it cleanly.
- Grout line width and how it reads under Summerlin’s strong afternoon light. Wider grout lines show uneven spacing more than narrow ones.
Once the layout is marked and agreed, the tile goes down with a written reference for the grout line and pattern, so the person setting it on installation day isn’t guessing. That’s the difference between a backsplash you enjoy and one you quietly resent.
The Written Change-Order Process That Protects Your Budget
A troubleshooting moment should never become an undocumented cost added to the final invoice. When a problem turns up mid-job, the fix has a price and a time impact, and both belong on paper before the work is done. That’s the whole point of a written change order: it records the problem, the chosen fix, the price, and the schedule effect, and it gets your signature before anyone picks up a tool.
Here’s how our change-order process works on every Summerlin project:
- The crew photographs the condition. A bowed wall, a drain conflict, or a panel that won’t carry the new load gets documented with a photo and a measurement.
- We explain the options in plain language. Usually there are two or three ways to solve the same problem at different costs. You see all of them.
- You get a written price and time impact. No verbal estimates, no “we’ll sort it out at the end.” The number is on paper.
- You sign before work continues. No signature, no extra work.
- The signed change order is filed with the original contract. The final invoice matches the contract plus the signed change orders, every time.
This is the mechanism that keeps a written price before work starts honest for the whole job, not just day one. If a contractor can’t produce a written change order on request, that’s your signal to ask harder questions. And because every completed project carries the 365-Day Done Right Promise, the work that happens after a change order is still covered: if it isn’t done right, we make it right. See how our broader service works through Elmstead Remodeling Summerlin home.
What a change order should contain
- A clear description of the condition found, with a photo.
- The chosen solution and any alternatives you considered.
- A fixed price for the added work.
- The number of days added to the schedule, if any.
- Your signature and a date.
Why Phase Sequencing Prevents Most Delays
Almost every problem in this guide is a phase problem. The rough-in conflict is expensive because it’s discovered late. The out-of-square wall is expensive because it’s caught at templating, not at cabinet-set. The appliance doesn’t fit because the spec sheet was used instead of the install guide. The backsplash looks wrong because nobody dry-laid it. Get the sequence right and the problems either disappear or surface early, when they’re cheap to fix.
The sequence we run on a Summerlin kitchen:
- Design and measurement, including appliance install guides and existing rough-in verification.
- Demolition and disposal.
- Rough-in: plumbing, gas, electrical, and ducting, with a framing walkthrough before the walls close.
- Inspection and drywall.
- Cabinet set, checked against a laser plane, before any template.
- Templating and countertop fabrication (Cambria and Silestone slabs get cut to the verified template).
- Countertop install, then appliance delivery and fit check against the actual opening.
- Backsplash dry-lay, then tile.
- Trim, paint, and final clean-up.
- Final walkthrough with the signed contract and any change orders in hand.
Each step depends on the one before it being right. Rushing past the measurement step to get to demolition faster is the single most common reason a kitchen remodel runs long.
Common Mistakes to Avoid
- Ordering cabinets before the rough-in is verified. In a Summerlin slab-on-grade home, a sink drain that needs moving is a concrete job, and the cabinet layout has to know about it first. Ordering early locks in a layout you might have to break.
- Trusting the spec sheet instead of the install guide. The marketing page lists the width; the install guide lists the rough opening and clearance. Only one of those determines whether the fridge fits, and it’s the guide.
- Skipping the dry-lay on the backsplash. An afternoon of dry-laying saves a week of chipping out thinset. It’s the cheapest insurance in the whole kitchen.
- Setting cabinets by eye instead of a laser plane. A run that looks straight can be a quarter inch out of plane, and the countertop cut to that run will never sit flush. Squareness gets checked and written down, not eyeballed.
- Accepting a verbal change order. “We’ll add it at the end” is how budgets drift. Get the number, the time impact, and the signature on paper before the work happens.
- Ignoring the electrical panel’s real capacity. A new induction range or a double wall oven can require a panel upgrade. That cost belongs in the written price before the first day, not in a surprise line item later.
- Choosing a countertop material before the template. Pick the quartz and the edge profile at design, but let the template determine the cut. A slab is only as good as the footprint it’s cut from, and any pre-cut slab you can’t re-measure is a slab you might have to buy twice.
See the difference
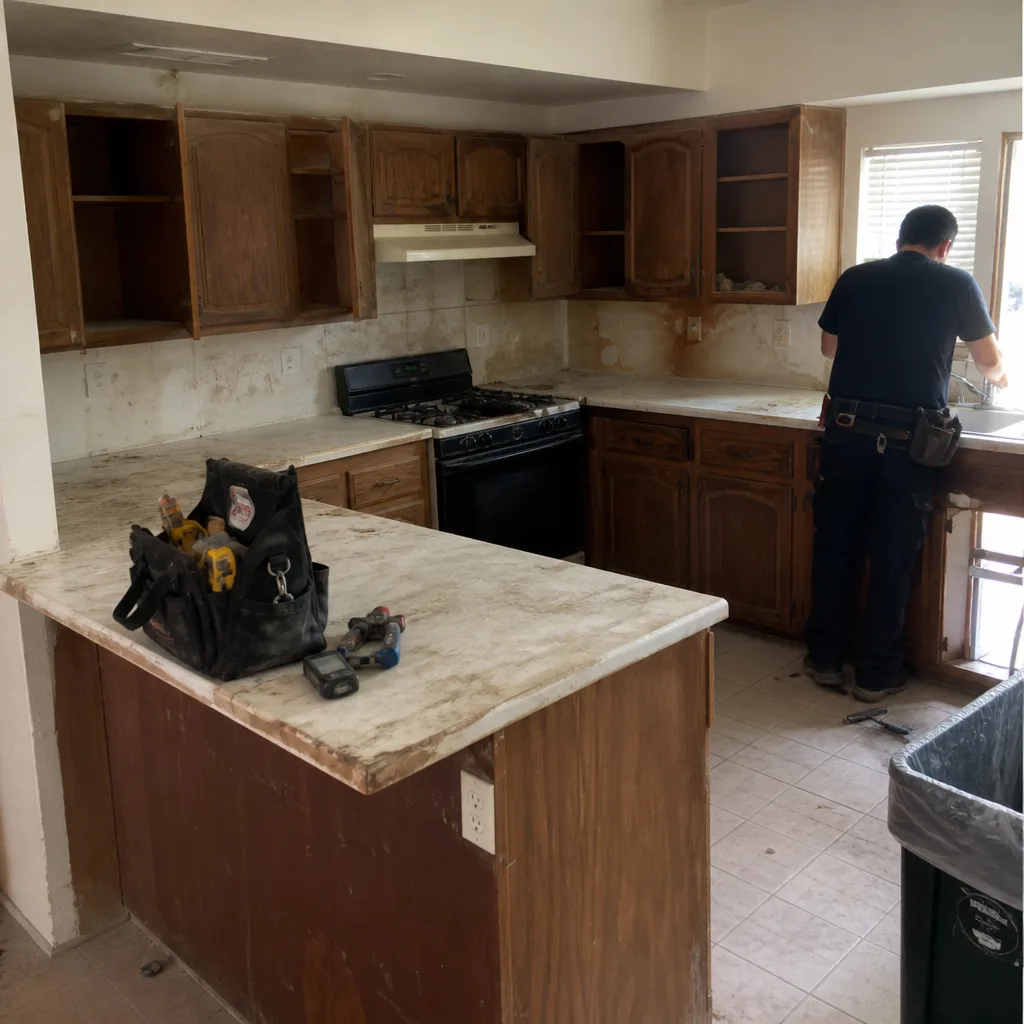 Before
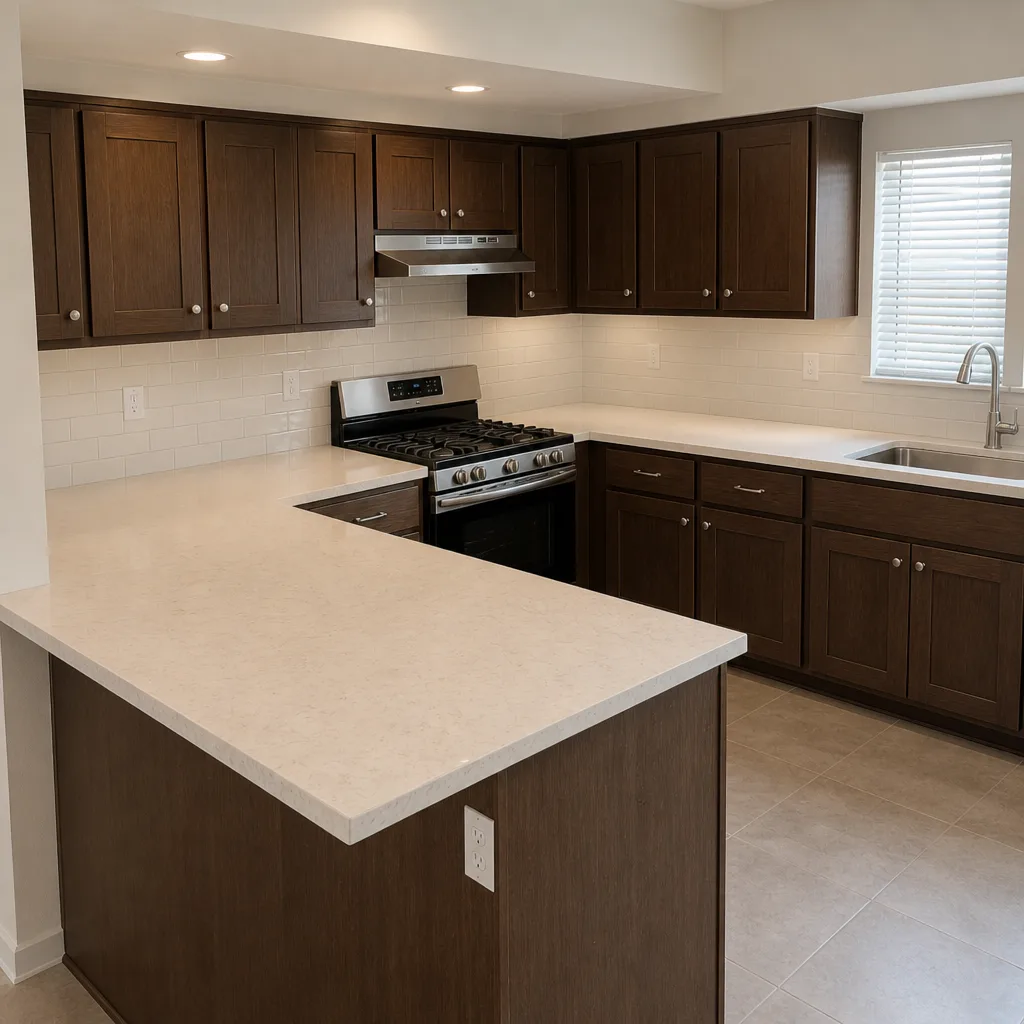 After
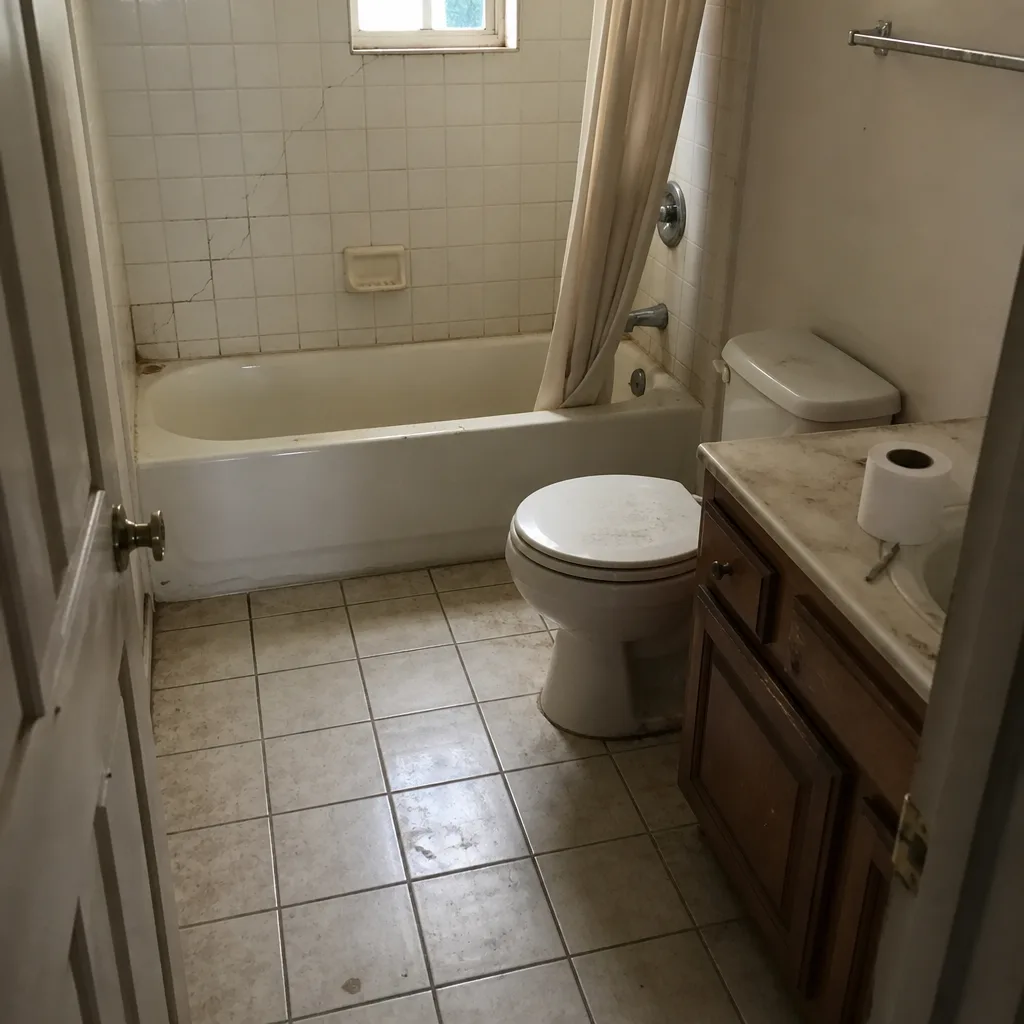 Before
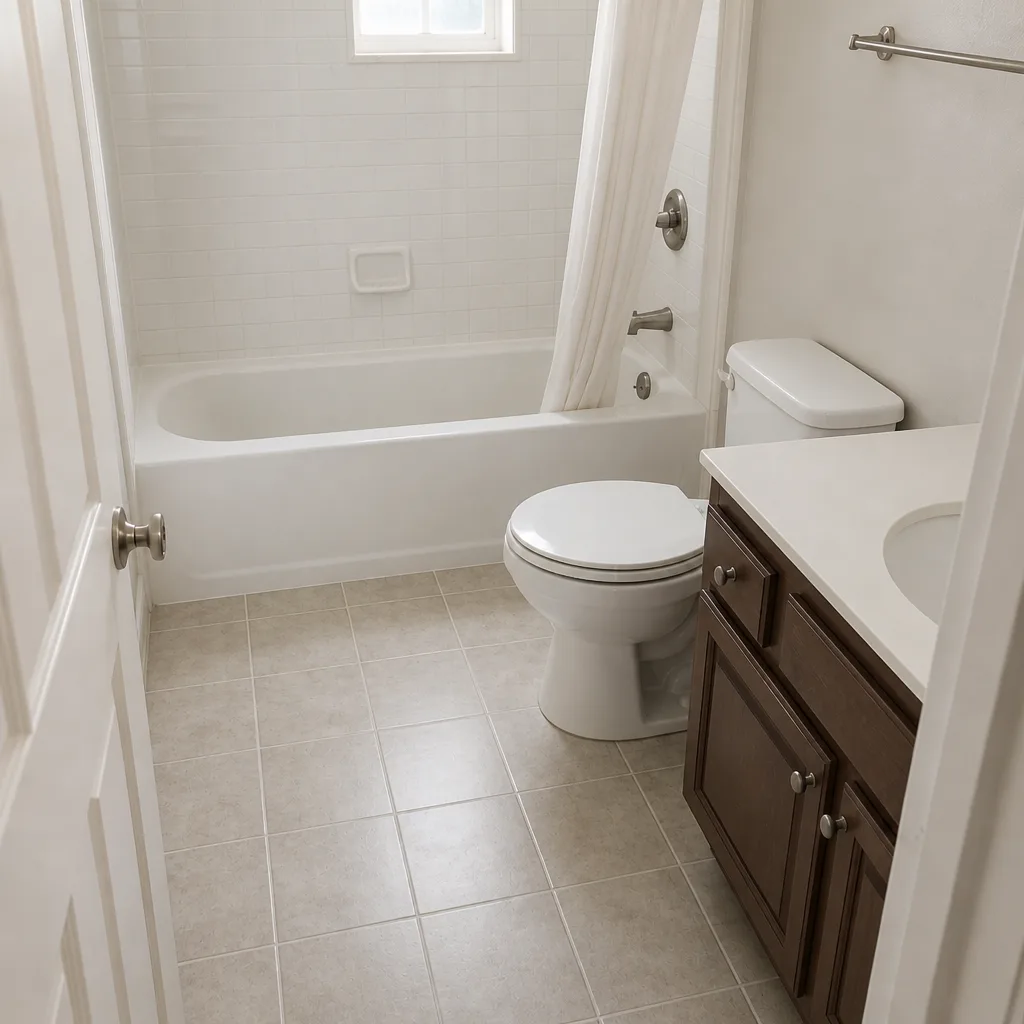 After
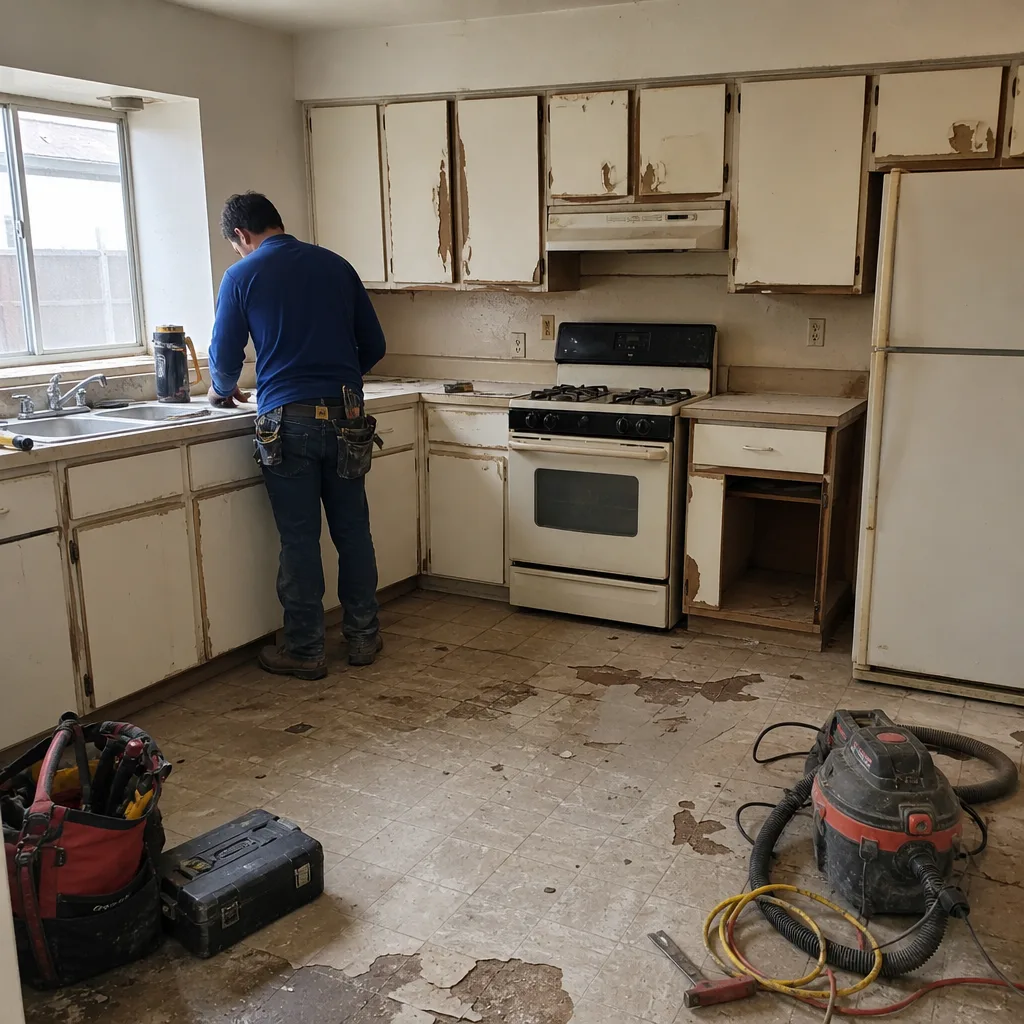 Before
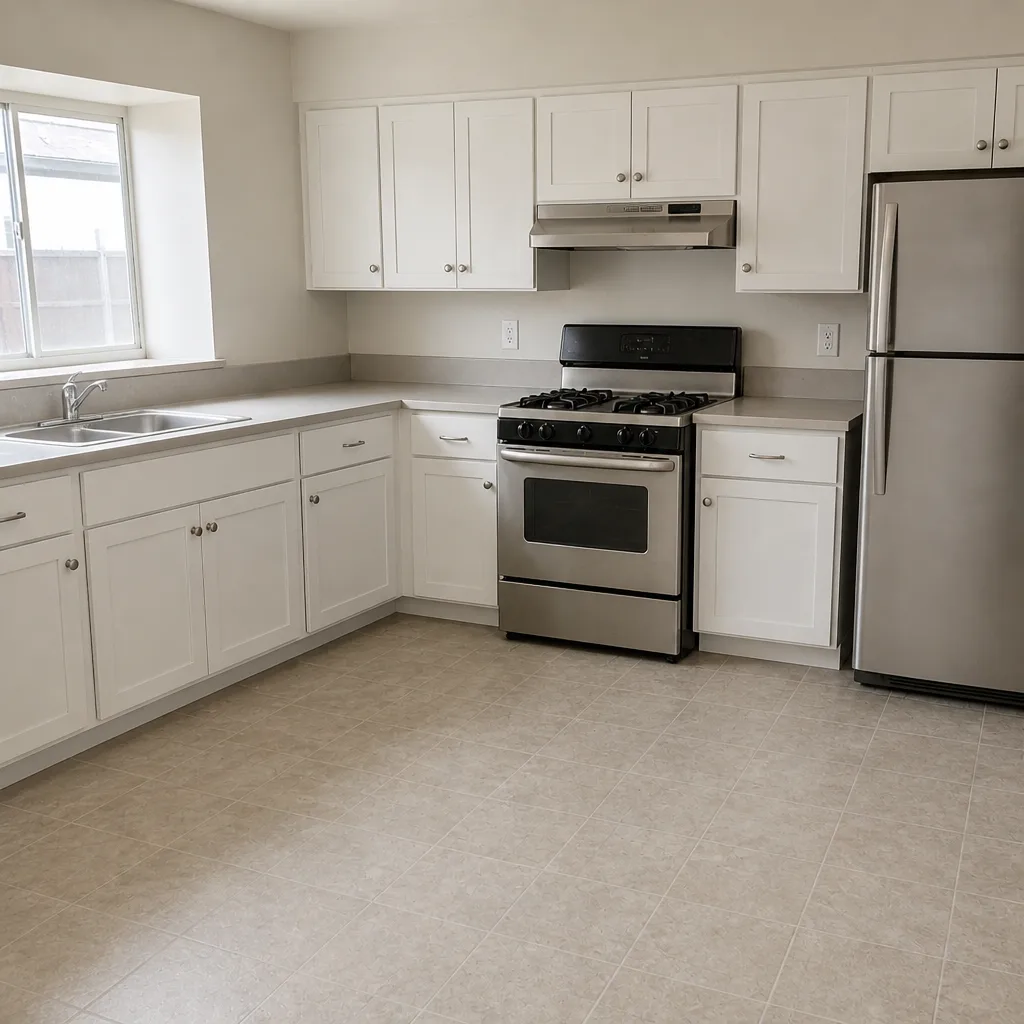 After
When to Call a Professional

Some troubleshooting is a homeowner’s job. Any of these is not: moving a drain in a concrete slab, opening a gas line, adding a 240-volt circuit or evaluating a panel’s capacity, re-setting an out-of-square cabinet run, or setting tile over a layout you haven’t dry-laid against the actual room. If the problem touches plumbing, gas, electrical, structural framing, or a finished surface you can’t easily redo, that’s a call-in-a-tradesperson moment, not a weekend project. Gas and electrical work in particular should be handled by a licensed electrician or plumber, because the failure modes are dangerous, not just expensive.
The good news is that in Summerlin, most of these problems are detectable before they cost anything, if the right person is looking. We handle kitchen remodeling and full-home projects in Summerlin and the surrounding valley, and we’re happy to look at a rough-in plan or a templating issue and tell you what we see. Elmstead Remodeling Summerlin offers free estimates in Summerlin – call (844) 797-4877. Calls are answered by a live person 24/7.
Frequently Asked Questions
The most common is a rough-in conflict discovered after the cabinets are already ordered: a sink drain that sits a few inches off where the new sink needs it, or a gas line that’s on the wrong wall for the chosen range. In Summerlin’s slab-on-grade homes, that drain conflict can mean cutting into the concrete, which is why we verify the rough-in before the cabinet order is placed, not after.
A carpenter’s fix such as a filler strip or scribe molding typically adds a modest line item, while a full cabinet reset is a larger cost in time and labor because the run comes out and gets re-set before templating. Either way, the number should be on a written change order before the work happens, not on the final invoice. Call us for a free estimate on your specific kitchen.
Only with a signed written change order that documents the condition, the chosen fix, its price, and any time added to the schedule. On every Elmstead project, the written price is given before any work starts, and any change goes on paper with your signature before the crew proceeds. You shouldn’t be surprised by the final invoice, and with this process you won’t be.
Yes. A kitchen remodel that moves plumbing, gas, or electrical requires permits and inspections in Summerlin, and we handle pulling them and passing the inspections as part of the project. The inspection phase is built into the schedule (step four in our sequencing) so it never stops the job cold.
A typical full kitchen in Summerlin runs several weeks depending on scope, and the problems that add the most time are the ones caught late: a drain that needs moving in a slab, a cabinet run that needs re-setting after a failed squareness check, or a countertop fabricated to the wrong template. Catching each at the correct phase is what keeps the schedule on track.
Because backsplash layout problems only appear after cabinets are hung, and once thinset sets the layout is essentially permanent. A dry-lay lets you see where the top course meets the ceiling, how the pattern lands at the range hood and outlets, and whether the corners close cleanly, all before any tile is adhered. It’s a short step that prevents a very visible, hard-to-undo mistake. Call (844) 797-4877 with your tile choice and we’ll plan the layout before the setting day.
The Bottom Line
Kitchen remodeling problems are not surprises. They are conditions that show up at predictable moments, and the whole game is catching each one in its own phase. A drain conflict caught at rough-in is a plumbing plan; the same conflict caught at cabinet-set is concrete demolition. An appliance measured from its install guide fits; the same appliance measured from its spec sheet might not. A dry-laid backsplash looks right; a backspashed set cold often doesn’t. And a written change order keeps every fix documented and priced, so the final invoice matches what you signed. In Summerlin, where slab foundations make the rough-in phase especially unforgiving, that discipline is worth its weight. The crews that plan it well are the ones you never hear a complaint about.
If you’d like a free estimate on your Summerlin kitchen, or a second look at a plan that’s already underway, call Elmstead Remodeling Summerlin at (844) 797-4877. We’ll walk the space with you, give you a written price before any work starts, and put a plan on paper that reaches every phase before the phase begins. You can also read about how we handle the finishing half of the home through Bathroom Remodeling in Summerlin.
Written by the team at Elmstead Remodeling Summerlin.