
Last updated November 18, 2026








Free written scope consultation - allowances, timeline, and change-order rules on paper before a single trade is scheduled
Kitchen Remodeling Maintenance Schedule: What to Do and When
The caulk line between the backsplash and the countertop is not decorative. It is the barrier that keeps water out of the cabinet below, and it needs to be inspected every six months regardless of how new the kitchen is. Most homeowners treat a remodeled kitchen as one finished object, so when something starts to fail they can’t tell what went wrong or when. A kitchen is really a set of systems: grout, hardware, ventilation, caulk lines, and appliance connections. Each has its own interval. Miss those intervals and the cheapest parts wear out first, taking the expensive finishes with them. This guide gives Summerlin homeowners a month-by-month schedule tied to the actual materials in a remodeled kitchen.
Quick Answer
Inspect caulk lines at 6 months, adjust cabinet hinges at 12 months, and reseal natural-stone grout at 12 months. Clean baffle or mesh hood filters every month or two in Summerlin’s dusty environment, and treat hard-water deposits on fixtures monthly. Everything else falls between those points on a simple 12-month calendar.
Styles & brands we work with
- Kitchen remodeling
- Bathroom remodeling
- Home additions & ADU
- Roofing
- Windows & doors
- Driveway & pavers
- Fence
Table of Contents
- The 12-Month Kitchen Maintenance Calendar
- Caulk and Sealant: The Six-Month Inspection
- Cabinet Hardware: Adjusting Hinges, Slides, and Soft-Close
- Grout and Stone: Sealing Schedules That Match the Material
- Hard-Water Deposits and Faucet Finishes in Summerlin
- Ventilation Hood Filters and Summerlin’s Dust
- The 365-Day Walk-Through and How to Document It
- Common Mistakes to Avoid
The 12-Month Kitchen Maintenance Calendar
A kitchen holds up longer when the small tasks happen on a rhythm instead of whenever something breaks. Here is the schedule we hand to families after a kitchen remodeling in Summerlin wraps up. It assumes the room was finished with the kind of materials we install: KraftMaid or Wellborn cabinets, Cambria or Silestone counters, Kohler, Moen, or Grohe fixtures.
- Month 1: Walk the room with a notepad. Note any door that swings unevenly or drawer that catches. Re-check the caulk line at the backsplash. This is your baseline.
- Month 3: Clean the hood filter for the first time. Look under the sink for moisture at the cabinet floor.
- Month 6: Full caulk inspection at the countertop-to-backsplash joint, around the sink rim, and where the counter meets the wall. Re-caulk any line that has pulled away.
- Month 9: Check soft-close dampers on cabinet doors and drawers. Test that every door closes flush against the frame.
- Month 12: Adjust cabinet hinges and drawer slides. Reseal natural-stone grout. Photograph everything you find for warranty records.
Summerlin’s dry air works on wood and caulk differently than a coastal climate. Cabinet doors can swell and shrink a few millimeters between summer and winter, which is why hinge adjustment at the one-year mark matters more here than in a humid region. Set a phone reminder for each month above and the schedule runs itself.
Caulk and Sealant: The Six-Month Inspection
Caulk fails quietly. A hairline gap behind the sink lets a trickle of water run down the back of the cabinet, and by the time you notice, the cabinet floor is stained and the substrate behind the backsplash has softened. Six months is the right inspection interval because that is roughly how long a bead of quality silicone lasts before it starts to pull away from the counter edge.
Here is what to look for at the six-month mark:
- A visible gap or shadow line between the caulk and the counter or the wall.
- Caulk that feels soft, tacky, or crumbly when you press it gently with a fingernail.
- Discoloration behind the sink where water sits longest.
- Any bubbling at the joint, which usually means moisture is already trapped underneath.
Around a sink rim, inspect more often, especially if the sink gets heavy daily use. In Summerlin homes where the kitchen faces west and takes the afternoon sun, the caulk near the window wall cures faster from heat cycling and may need attention sooner. When a line does fail, the fix is a clean removal of the old bead, a full dry-out, and new 100% silicone, not a topical skim of fresh caulk over the old. Skimming traps moisture and hides the problem. If the cabinet below already shows water staining, stop and get it looked at before you re-caulk, because the source may be a fitting rather than the caulk line.
Cabinet Hardware: Adjusting Hinges, Slides, and Soft-Close
Cabinet damage usually starts with a hinge that has slipped a fraction of an inch. The door rubs the frame, the finish on the door face scuffs, and a small adjustment turns into a touch-up. The one-year mark is when the first adjustment is due. Most European-style concealed hinges have two or three adjustment screws: one for depth, one for side-to-side alignment, and one for the soft-close damper.
Signs a hinge or slide needs attention before the finish is damaged:
- A door that no longer sits flush with its neighbors or the cabinet frame.
- Any door that swings open or closed on its own, which means the hinge is out of alignment.
- A drawer that feels gritty or scrapes when it slides, pointing to a slide that needs cleaning or replacement.
- A soft-close door that slams, meaning the damper has worn out. Dampers are a small replaceable part and don’t require a new hinge.
- Screws that feel loose in the cabinet side. Tighten them gently; if the hole has stripped, the fix is a hinge plate or a longer screw, not a bigger screw driven hard.
Adjust hinges with a screwdriver that fits the adjustment screws snugly. A quarter turn at a time, then close the door and check. Cabinet brands differ, so check the manufacturer’s literature that came with the cabinets; KraftMaid and Wellborn both publish adjustment guidance and warranty terms tied to proper care. If a hinge has failed within the first year, that is a warranty conversation, not a homeowner repair.
Grout and Stone: Sealing Schedules That Match the Material
Not all counters and backsplashes need the same care. Matching the sealing interval to the material is the difference between a counter that holds its finish for years and one that stains in months.
- Natural stone (marble, quartzite, travertine): Seal at installation and reseal about every 12 months. Test by sprinkling a few drops of water; if it darkens the surface quickly, the sealer has worn thin.
- Engineered quartz (Cambria, Silestone): These are non-porous and do not need sealing, but grout lines at the backsplash and around inset outlets do.
- Ceramic and porcelain tile with cement grout: Seal grout at installation, then every 12 to 18 months.
- Epoxy grout: Does not need sealing, but benefits from a gentle cleaning schedule to keep it from dulling.
Careful with sealing: Do not seal a stone counter less than 30 days after installation. The stone needs to dry out. Sealing too early traps moisture and can cloud the finish.
In Summerlin, the low indoor humidity speeds up drying but also means grout can pull away from tile edges over time. Grout that has cracked at a backsplash outlet or around a sink rim is the first thing to touch up at the 12-month mark.
Hard-Water Deposits and Faucet Finishes in Summerlin
Las Vegas Valley tap water is hard, and that mineral content is the reason kitchen fixtures here need more attention than the same fixtures in a softer-water city. Calcium and magnesium leave white scale on any surface that sees regular splashing, and a finish that is not cleaned regularly can etch over time.
Which finishes hold up best in this water:
- PVD over brushed nickel: A physical vapor deposition coating over brushed nickel resists mineral buildup and stands up to regular wiping better than an unprotected finish. It is a strong choice for a Summerlin kitchen.
- Chrome and polished nickel: Both clean up easily, but need a weekly wipe to prevent white spotting. A soft cloth with a diluted vinegar solution handles light scale; do not let vinegar sit on the finish.
- Matte black and oil-rubbed bronze: Both look great but show spots and scale more readily. Monthly treatment with a manufacturer-approved cleaner keeps them looking sharp; check the fixture brand’s care guide, since Moen, Kohler, and Grohe each publish finish-specific guidance.
Treat faucet and sink fixture finishes monthly. Clean the aerator every three months: unscrew it, soak it in a cup of vinegar for 15 minutes, rinse, and reinstall. A scaled aerator is why a faucet that used to spray steadily starts to spit and weakly stream. For sinks, a quick monthly pass with a non-abrasive cleaner keeps the drain collar and fixture base spot-free and prevents mineral buildup from hardening into place.
Ventilation Hood Filters and Summerlin’s Dust
Summerlin’s desert environment throws fine dust into the air year-round, and kitchen ventilation catches it all. A filter that would take three months to clog in a greener climate can be noticeably loaded at six or eight weeks here. That single fact changes the cleaning schedule for every hood type.
- Baffle filters (stainless steel): Clean every 4 to 6 weeks in Summerlin. Baffle filters hold up well and can go straight into the dishwasher, though hand washing in hot water keeps them from warping over time.
- Mesh filters (aluminum or steel): Clean every 3 to 4 weeks. Mesh clogs faster and the grease hardens in the weave. Dishwashable, but check after each wash for grease that hasn’t come off.
- Charcoal and recirculating filters: These cannot be cleaned, only replaced. In Summerlin, plan on replacing every 4 to 6 months instead of the manufacturer’s standard 6 to 12.
When the filter is out, check the underside of the hood for grease film. That residue climbs onto the cabinet face over the cooktop if it is not wiped. Wipe the hood and adjacent cabinet faces monthly with a degreasing cleaner. Skipping that step is how cabinet finish fades unevenly near the range.
The 365-Day Walk-Through and How to Document It
The one-year mark after a remodel is the right time for a formal walk-through, because the house has been through a full cycle of seasons and the small shifts that show up only after a year are now visible. Here is how we run one, and how to document what you find so any warranty claim is specific.
- Walk the room with a written checklist. Doors, drawers, hardware, caulk, grout, counters, fixtures, and ventilation, in that order.
- Photograph before and after. Take a photo of anything that looks off before you touch it, and again after any adjustment. A before-and-after photo is far more useful than a verbal description.
- Note the exact location and condition. “The lower-left hinge on the door next to the range has a soft-close damper that has failed” is specific enough to act on. “The cabinets are loose” is not.
- List what has been cleaned, adjusted, or replaced by the homeowner. This matters because warranty terms usually cover defects in materials and installation, not wear from skipping filter cleaning.
- Send the list and photos in one message. A single document with the date, the room, and the items beats a series of text messages.
The 365-Day Done Right Promise covers the work Elmstead Remodeling Summerlin completes. If a hinge has failed, a caulk line has opened prematurely, or a slide has worn, we make it right. That is the reason we ask families to keep the notes and photos from the start: it makes the difference between “something’s wrong” and “here is what we found, when we found it, and what we were doing when we found it.” A clear record protects both of you.
Common Mistakes to Avoid
- Skipping the six-month caulk inspection because the kitchen is new. New caulk cures and shrinks, and the first summer in a Summerlin home is when the joint is most likely to pull. A six-month look catches it while it’s a five-minute fix.
- Cleaning a mesh filter on the manufacturer’s printed interval. In a desert, dust and grease load the filter faster. Cleaning it monthly keeps the hood pulling and protects the cabinet face above the range.
- Using an abrasive scrubber on a PVD or brushed-nickel finish. A green pad scuffs the surface and dulls the finish in one pass. A soft cloth with a manufacturer-approved cleaner does the job.
- Sealing a stone counter the day it goes in. The stone needs to dry. Sealing too early traps moisture, and the finish will cloud or look uneven.
- Over-tightening screws in a stripped hinge hole. A bigger screw can split the cabinet side. Use the correct repair hardware instead.
- Sending warranty issues as a text with no photo or location. “The cabinet is broken” is hard to act on. A photo, a location, and a date get the fix started.
- Letting mineral deposits sit on a matte-black faucet for months. Scale hardens and will not wipe clean. A monthly treatment keeps the finish looking the way it did on day one.
See the difference
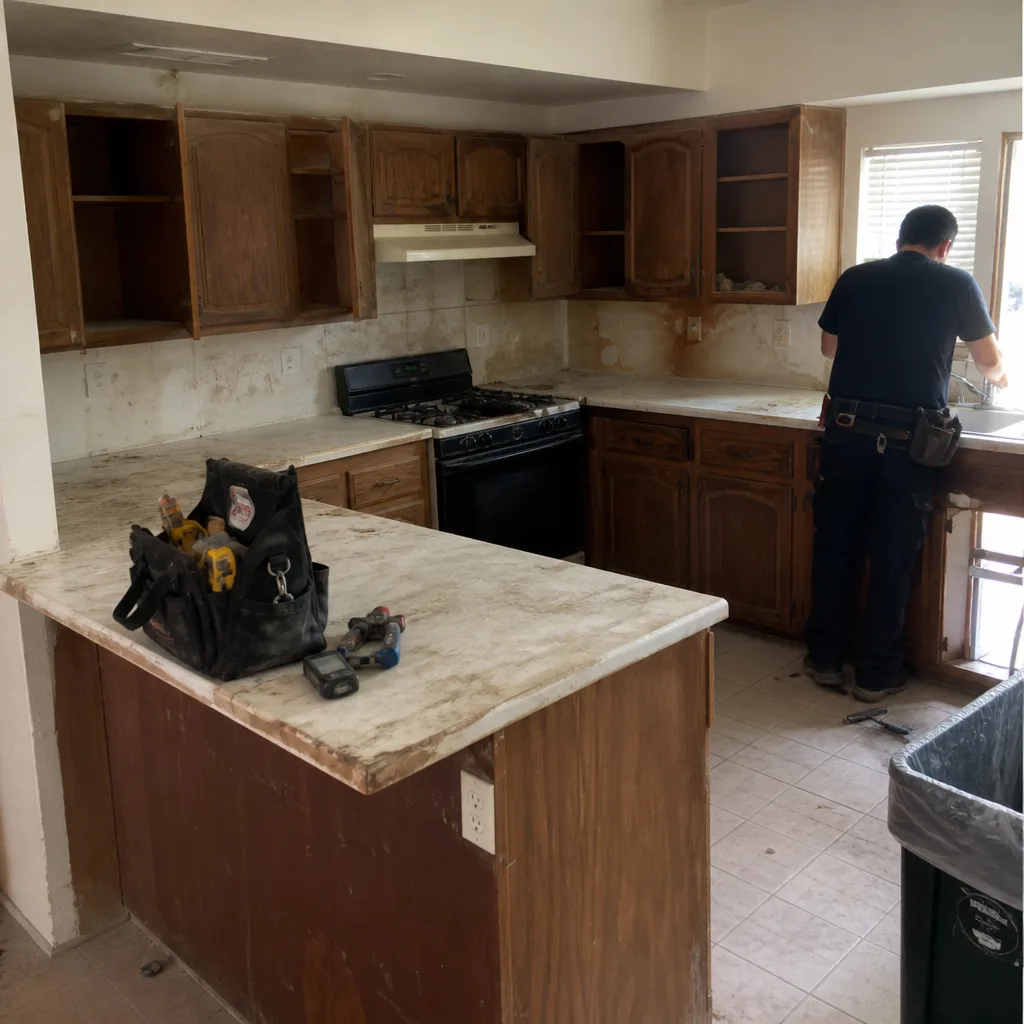 Before
 After
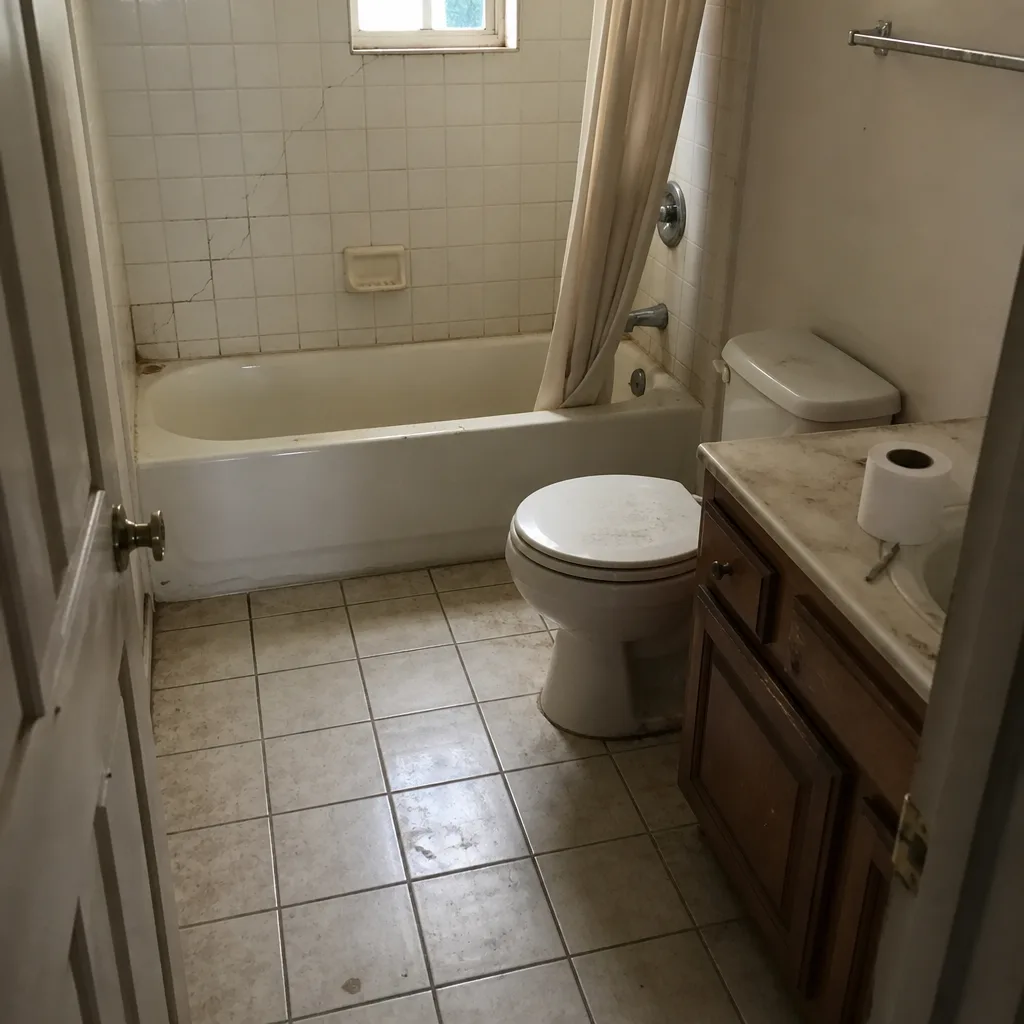 Before
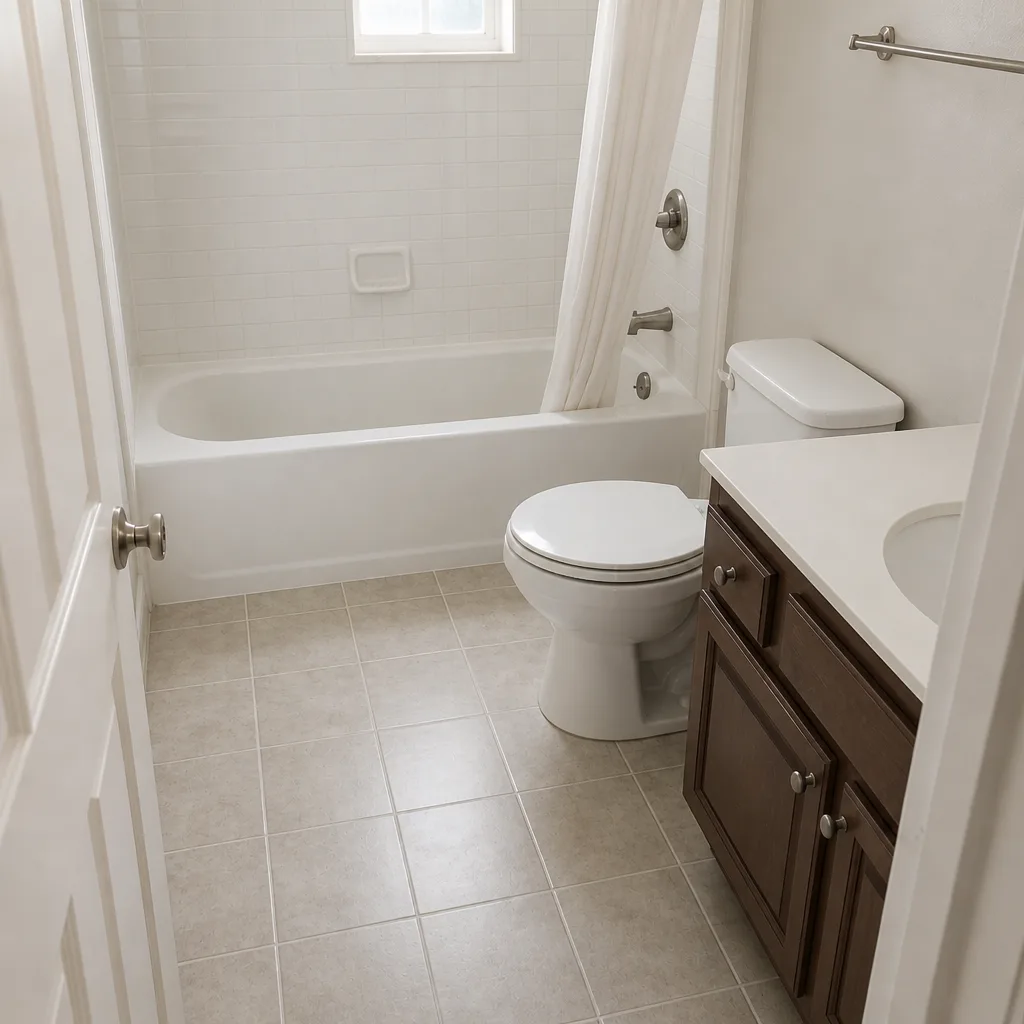 After
 Before
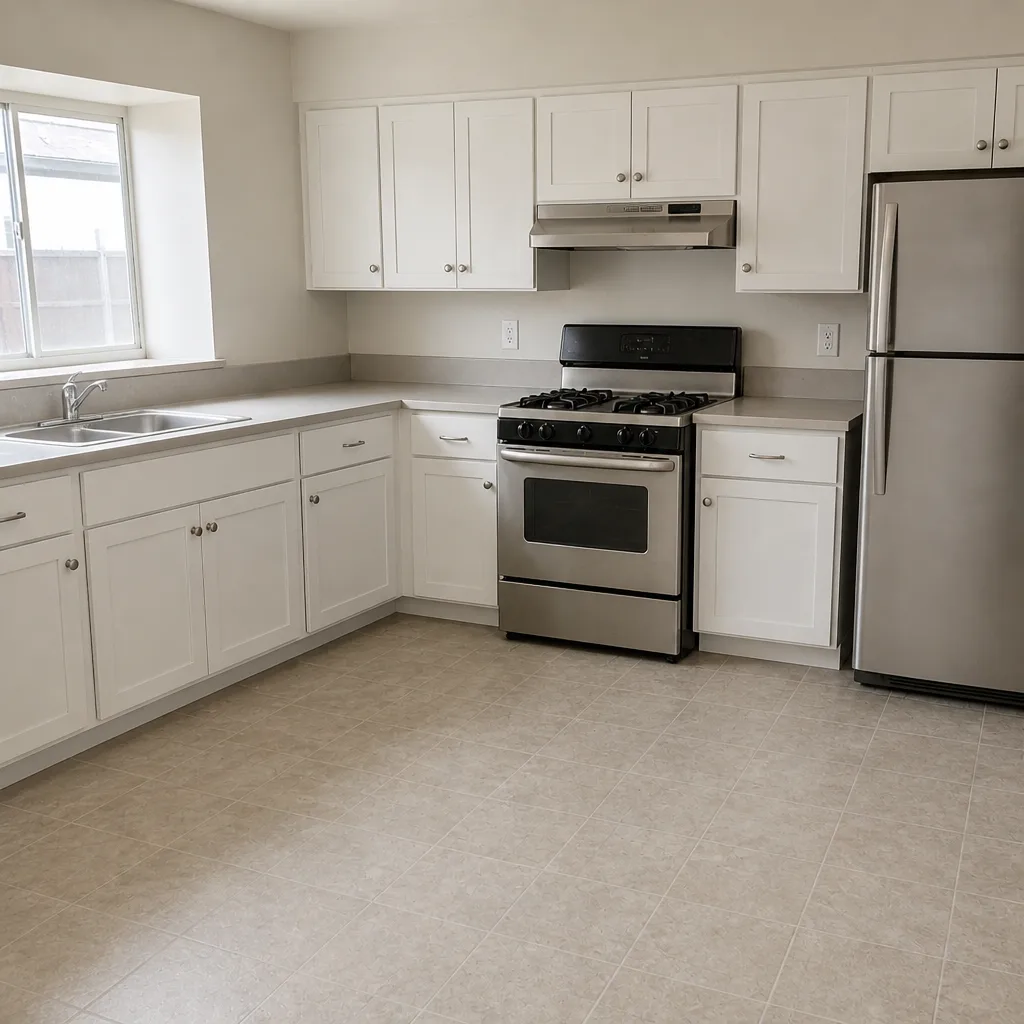 After
When to Call a Professional
Some problems are inside the wall or behind the cabinet, and those are worth a phone call. If water stains keep appearing at the cabinet floor even after a fresh caulk line, the source may be a supply fitting or drain connection. If a soft-close mechanism on a door keeps failing after replacement, the hinge plate or the cabinet side may be wrong for the door weight. If the hood has stopped pulling air well even with a clean filter, the ductwork or the exterior cap may be blocked. If a counter has cracked, or grout keeps pulling away from the same spot, that is not maintenance; it’s structural. Elmstead Remodeling Summerlin offers free estimates in Summerlin – call (844) 797-4877 to schedule a walk-through and a written price before any work begins. Phones are answered by a live person 24/7.
Frequently Asked Questions

Every six months, regardless of the kitchen’s age. The caulk line keeps water out of the cabinet below, and a six-month interval catches a failing joint before water reaches the cabinet floor. Call (844) 797-4877 for a free estimate if the gap is large or the cabinet below already shows moisture.
No. Cambria and Silestone are non-porous engineered quartz and do not need sealing. The grout lines at the backsplash and around inset outlets do, and those are worth checking every 12 to 18 months. Call (844) 797-4877 if a grout line has cracked or looks uneven.
Wood doors swell and shrink with the seasons, and Summerlin’s dry air shifts them a few millimeters between summer and winter. That shift puts a door out of alignment, and an out-of-alignment door rubs the finish. Adjusting hinges at 12 months catches it early. Call (844) 797-4877 for a free estimate if hinges are failing on a newer cabinet.
A PVD-coated brushed nickel finish holds up best against the Valley’s hard water because the coating resists mineral buildup. Chrome and polished nickel do well with a weekly wipe, while matte black and oil-rubbed bronze need a monthly treatment with a manufacturer-approved cleaner. Call (844) 797-4877 if a faucet finish is already etched or a fixture needs replacing.
A baffle filter every 4 to 6 weeks, a mesh filter every 3 to 4 weeks, and a charcoal filter replaced every 4 to 6 months. Summerlin’s dust loads filters faster than the manufacturer’s printed interval assumes. Call (844) 797-4877 if the hood has stopped pulling air well despite clean filters.
A room-by-room checklist with photos, the exact location and condition of anything that looks off, and a written record of what has been cleaned or adjusted by the homeowner. That record makes a warranty claim specific rather than general. Call (844) 797-4877 to schedule a walk-through and get a written price before any work starts.
The Bottom Line
A remodeled kitchen stays in good shape when the small systems are on a schedule: six months for caulk, twelve months for hinges and stone grout, monthly for fixture finishes and hood filters. In Summerlin, hard water and desert dust shorten those intervals, so treat them as the floor, not the ceiling. Keep a note and a photo of what you find at each check. Our technicians have up to 21 years of experience working with the cabinets, counters, and fixtures that go into these kitchens, and we’ve seen what a regular maintenance rhythm does for a finished room. Call (844) 797-4877 to schedule a free estimate. For the full picture of what we build, start with Elmstead Remodeling Summerlin home, our General Contractor in Summerlin page, or our Bathroom Remodeling in Summerlin guide. Every job is governed by the Cedarwell Care Promise: drop cloths and shoe covers on every visit, a written price before work starts, quiet tools during family rest hours where possible, a photo of the clean-up before we leave, and the 365-Day Done Right Promise stamped on the project.
Written by the team at Elmstead Remodeling Summerlin.